5. Mouth checks
5.1 The importance of mouth checks
Regular inspections of the oral cavity are crucial for the early identification and treatment of early childhood caries. If identified and treated in its early stages tooth decay can be reversed and preventive interventions offered.
Regular professional dental check-ups and advice are important; however, families may not connect with dental services until their child is older, or there is a problem. As a result, MCH nurses are often the first health professionals to discuss oral health with families and provide a simple mouth check that can identify tooth decay or other anomalies.
Even when a child has been linked to a dental service, there may be an extended period between visits. During this time, their oral health status, family circumstances, or risk factors may change. This is particularly important to consider because deciduous teeth are softer and smaller than permanent teeth, making them more vulnerable to rapid decay.
Recent research by Nation et al. (2026) from Southeast Queensland highlights the importance of early dental visits for children aged 0-4. The study found that only around 11% of children had visited a dental service by their first birthday, even though both national and international guidelines recommend a first dental visit by 12 months.
Children referred through the Lift the Lip screening program, which is routinely delivered by maternal and child health nurses, were significantly more likely to attend early, with 27.7% attending by 12 months and 66.7% by 24 months, compared to much lower rates in children who entered care through standard pathways. .
These findings validate the vital role of Lift the Lip mouth checks during the Key Ages and Stages visits, as they serve as an effective prompt for timely dental referrals. The evidence highlights that strengthening early referral pathways and increasing parent and caregiver awareness about the importance of a dental check by age one can substantially improve early access, especially for vulnerable populations.
Did you know all children 0-12 who live in Victoria have can access low cost or free public dental care? Learn more about eligibility and fees in ‘Section- 8.2 Access to the public dental system for children under 12’.
*Note: Early attendance remained lower among Indigenous children, children living in the most disadvantaged areas, and those eligible for the Child Dental Benefits Schedule (CDBS). These descriptive findings highlight both the promise of integrated early referral pathways and the ongoing persistence of inequities in timely access to dental care
MCH nurses are advised to conduct a mouth check at the 8-month, 18-month, 2-year and 3.5-year KAS consultations, aligned with the Maternal and Child Health Nurses Practice Guidelines.
The 'Lift the Lip' technique is a simple screening tool, intended to detect oral health concerns early. Mouth checks by a non-oral health professional are not a substitute for a full oral health assessment by a dental practitioner, but they provide an important opportunity to discuss oral health behaviours, advocate for the need for regular dental visits, and identify if a child needs to see a dental practitioner promptly.
Immediately refer to a dental practitioner any time you suspect an oral health problem.
MCH nurses should also encourage families to see a dental practitioner by their first birthday. This advice can be given at the 8-month visit. At the 18-month visit, you can follow up to see if the child has had this first appointment.
Refer to 'Section 4.1- Oral health messages for families' for more information about this topic.
5.2 Mouth checks: Key areas to observe
When conducting a mouth check, the aim is to identify anything that appears unusual, using a healthy mouth as the baseline. MCH nurses are not expected to know all the technical terms or diagnose oral diseases.
Refer to 'Section 2.2 -Mouth structure' for an example of a healthy mouth anatomy
A healthy mouth
Gums will range from pink and stippled to deeper hues. Teeth are not discoloured.
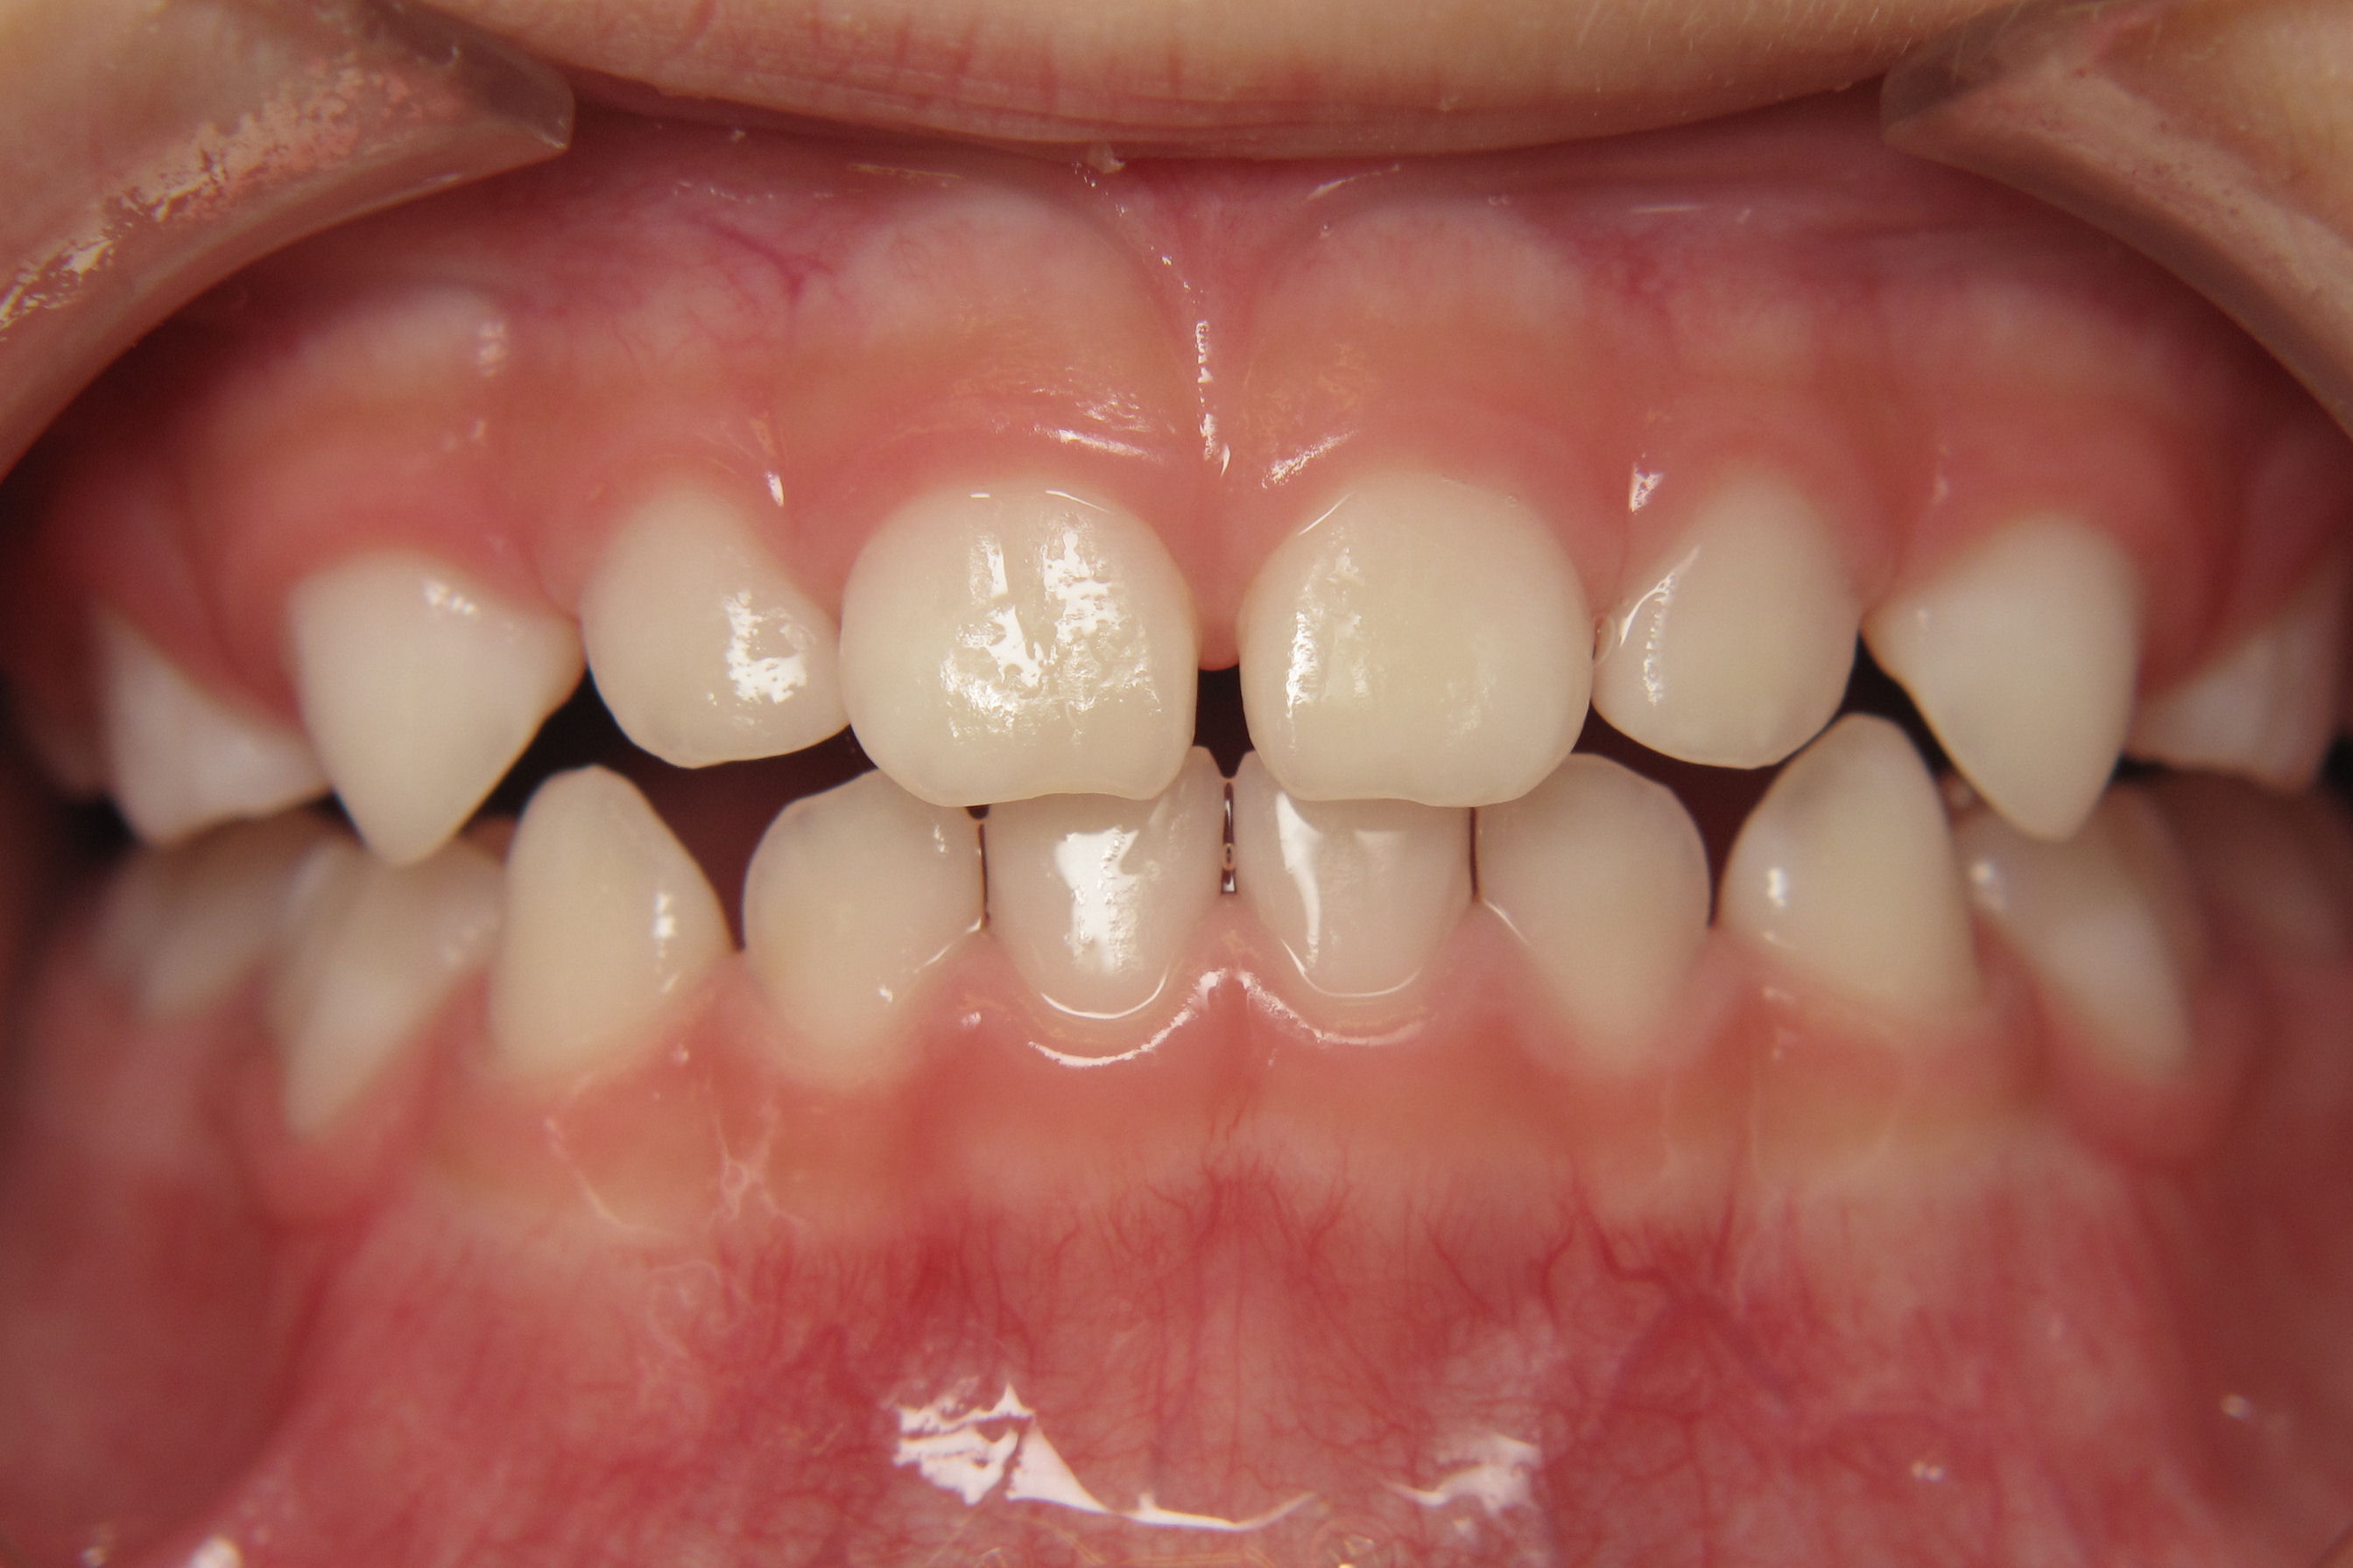 Image source: Dr Travis Nelson, DDS, MSD, MPH. Department of Paediatric Dentistry the University of Washington.

Image source: Dr Travis Nelson, DDS, MSD, MPH. Department of Paediatric Dentistry the University of Washington.
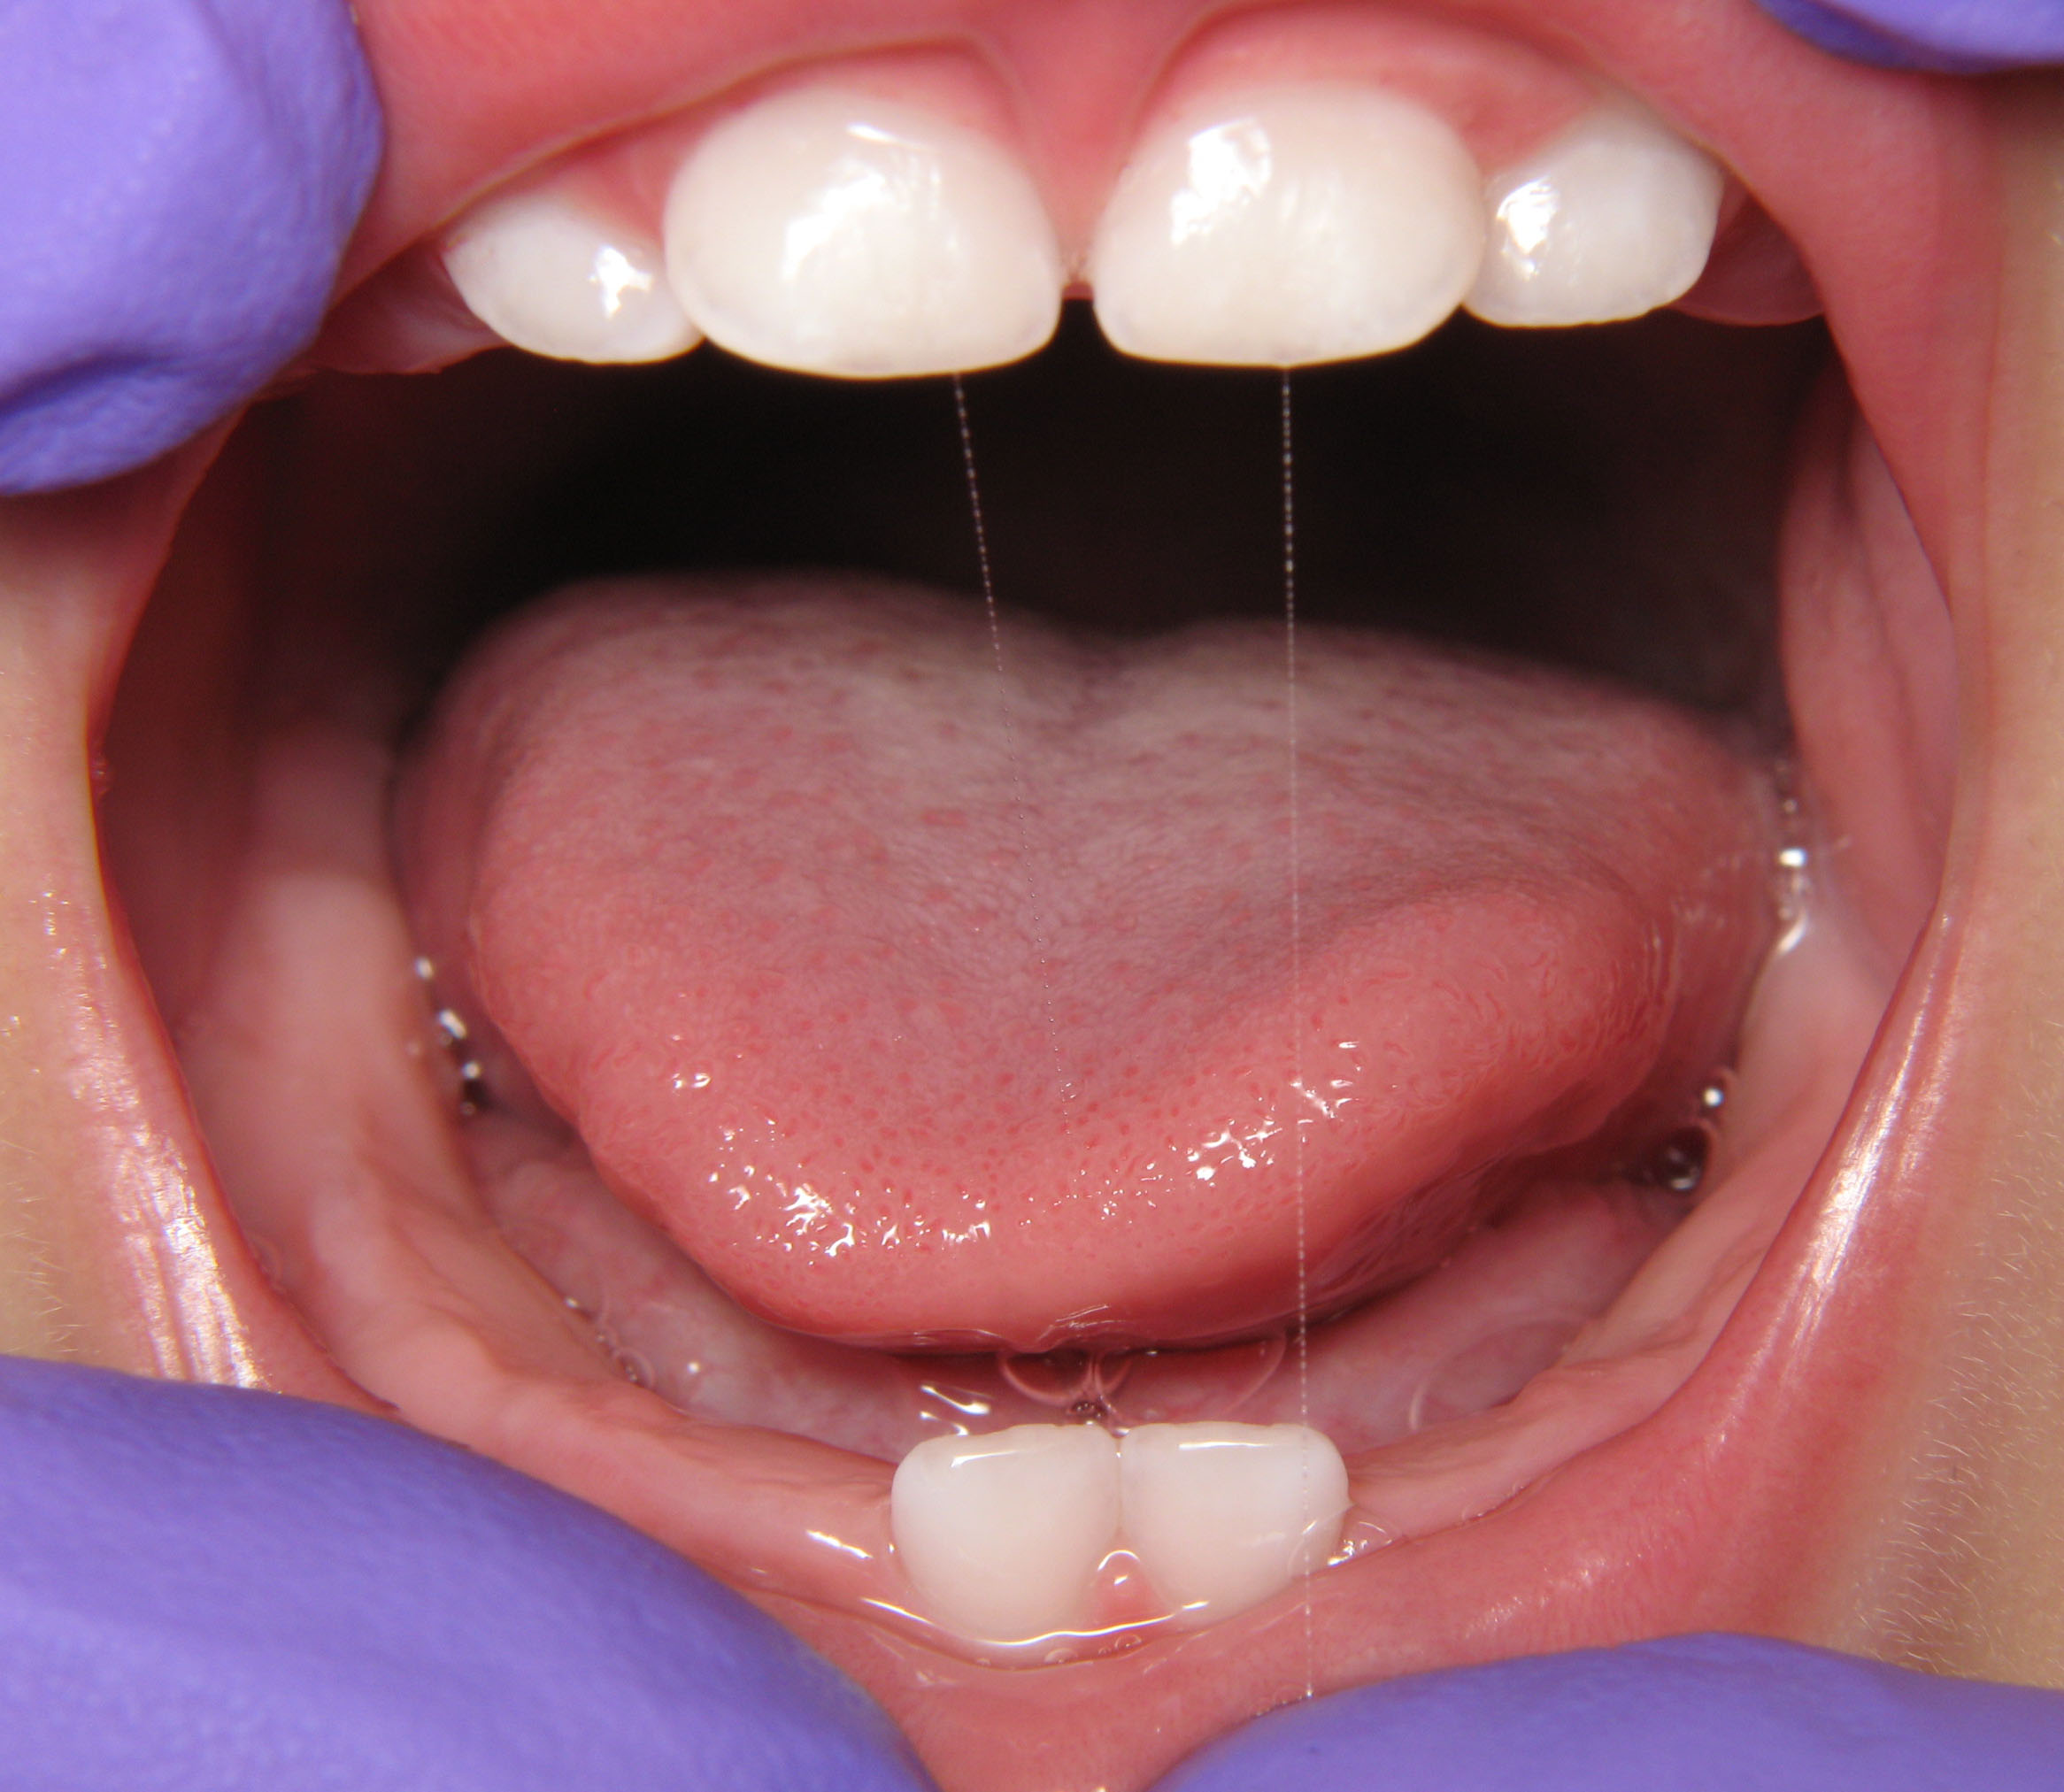
Image source: Dr Travis Nelson, DDS, MSD, MPH. Department of Paediatric Dentistry the University of Washington.
When conducting a mouth check, assess the following three areas:
- Moisture – Are the gums dry or moist? To check, nurses should try to rub a gloved finger over the gums (cheeks, etc). If finger doesn’t move easily (or gets stuck), the mouth is probably not wet enough.
- Colour – Healthy gums range from pink to deeper hues and can vary depending on skin tone. Look for redness, paleness, or other discolouration.
- Movement - Is the tongue moving freely and naturally?
- Moisture – Does the tongue appear dry or moist?
- Colour – A healthy tongue ranges from pink to deeper hues. Look for unusual coatings or discoloration.
Other observations
- Unusual lumps, sores, or abscesses – These may indicate infection or other concerns.
Refer to 'Section 6 -Conditions affecting the oral cavity' for examples
- Number – Are all expected teeth present for the child’s age?
- Type – What type of teeth (incisor, canine, molar) have erupted?
- Marks – Look for white spots, brown stains, or signs of decay.
- Oral hygiene – Is there visible plaque or food debris?
- Oral pain – Is the child showing signs of discomfort? Consider how pain may present in children (e.g., reluctance to eat, irritability).
- Mouth odour – Persistent bad breath can be a sign of underlying oral health issues.
- Moister - A well-hydrated mouth should be wet. Saliva should be thin and runny, not ropey or bubbly
- Ask the parent/carer if they have any concerns about the teeth, gums, mouth? A young child may not be able to verbalise pain and may only have pain at certain times.
Identifying signs of decay on teeth
Visible plaque, a sticky soft film formed on teeth, which contains bacteria.
If a child presents with visible plaque on their teeth, try to wipe the plaque away at the start of the mouth check. This will give you the best possible chance of seeing the first stage of dental caries. Do not be alarmed if the gums bleed a little when you do this. Inflammation of the gums is caused by plaque deposits being in close contact.
Encourage good oral hygiene practices.
 Image source: Dr Travis Nelson, DDS, MSD, MPH. Department of Paediatric Dentistry the University of Washington.
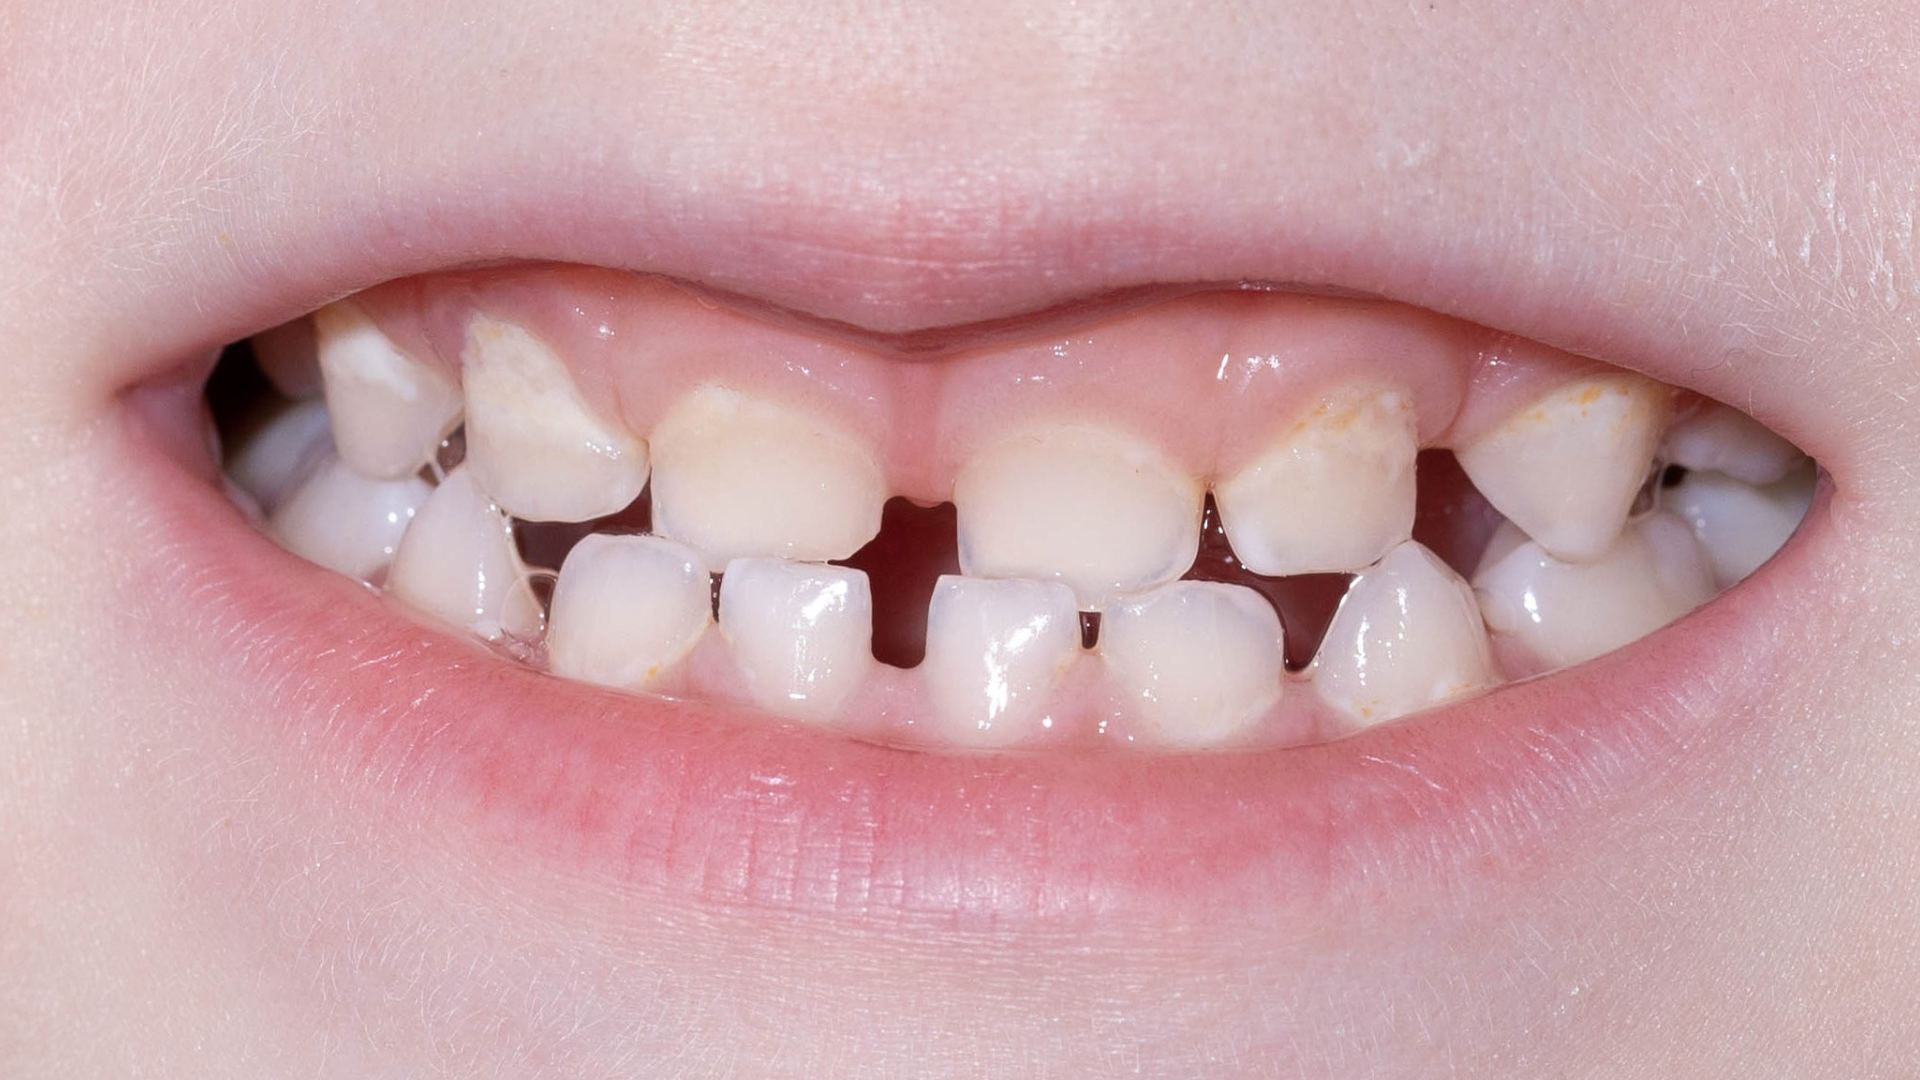
The upper incisors develop a dull white band (demineralisation) usually along the gum line, which usually goes undetected by the parents or carers. It is often covered by a layer of plaque.
Also called a “white spot lesion” or “incipient caries”.
Reversible with professional intervention, so referral is essential.
Encourage good oral hygiene practices.
Discuss tooth-friendly diet.
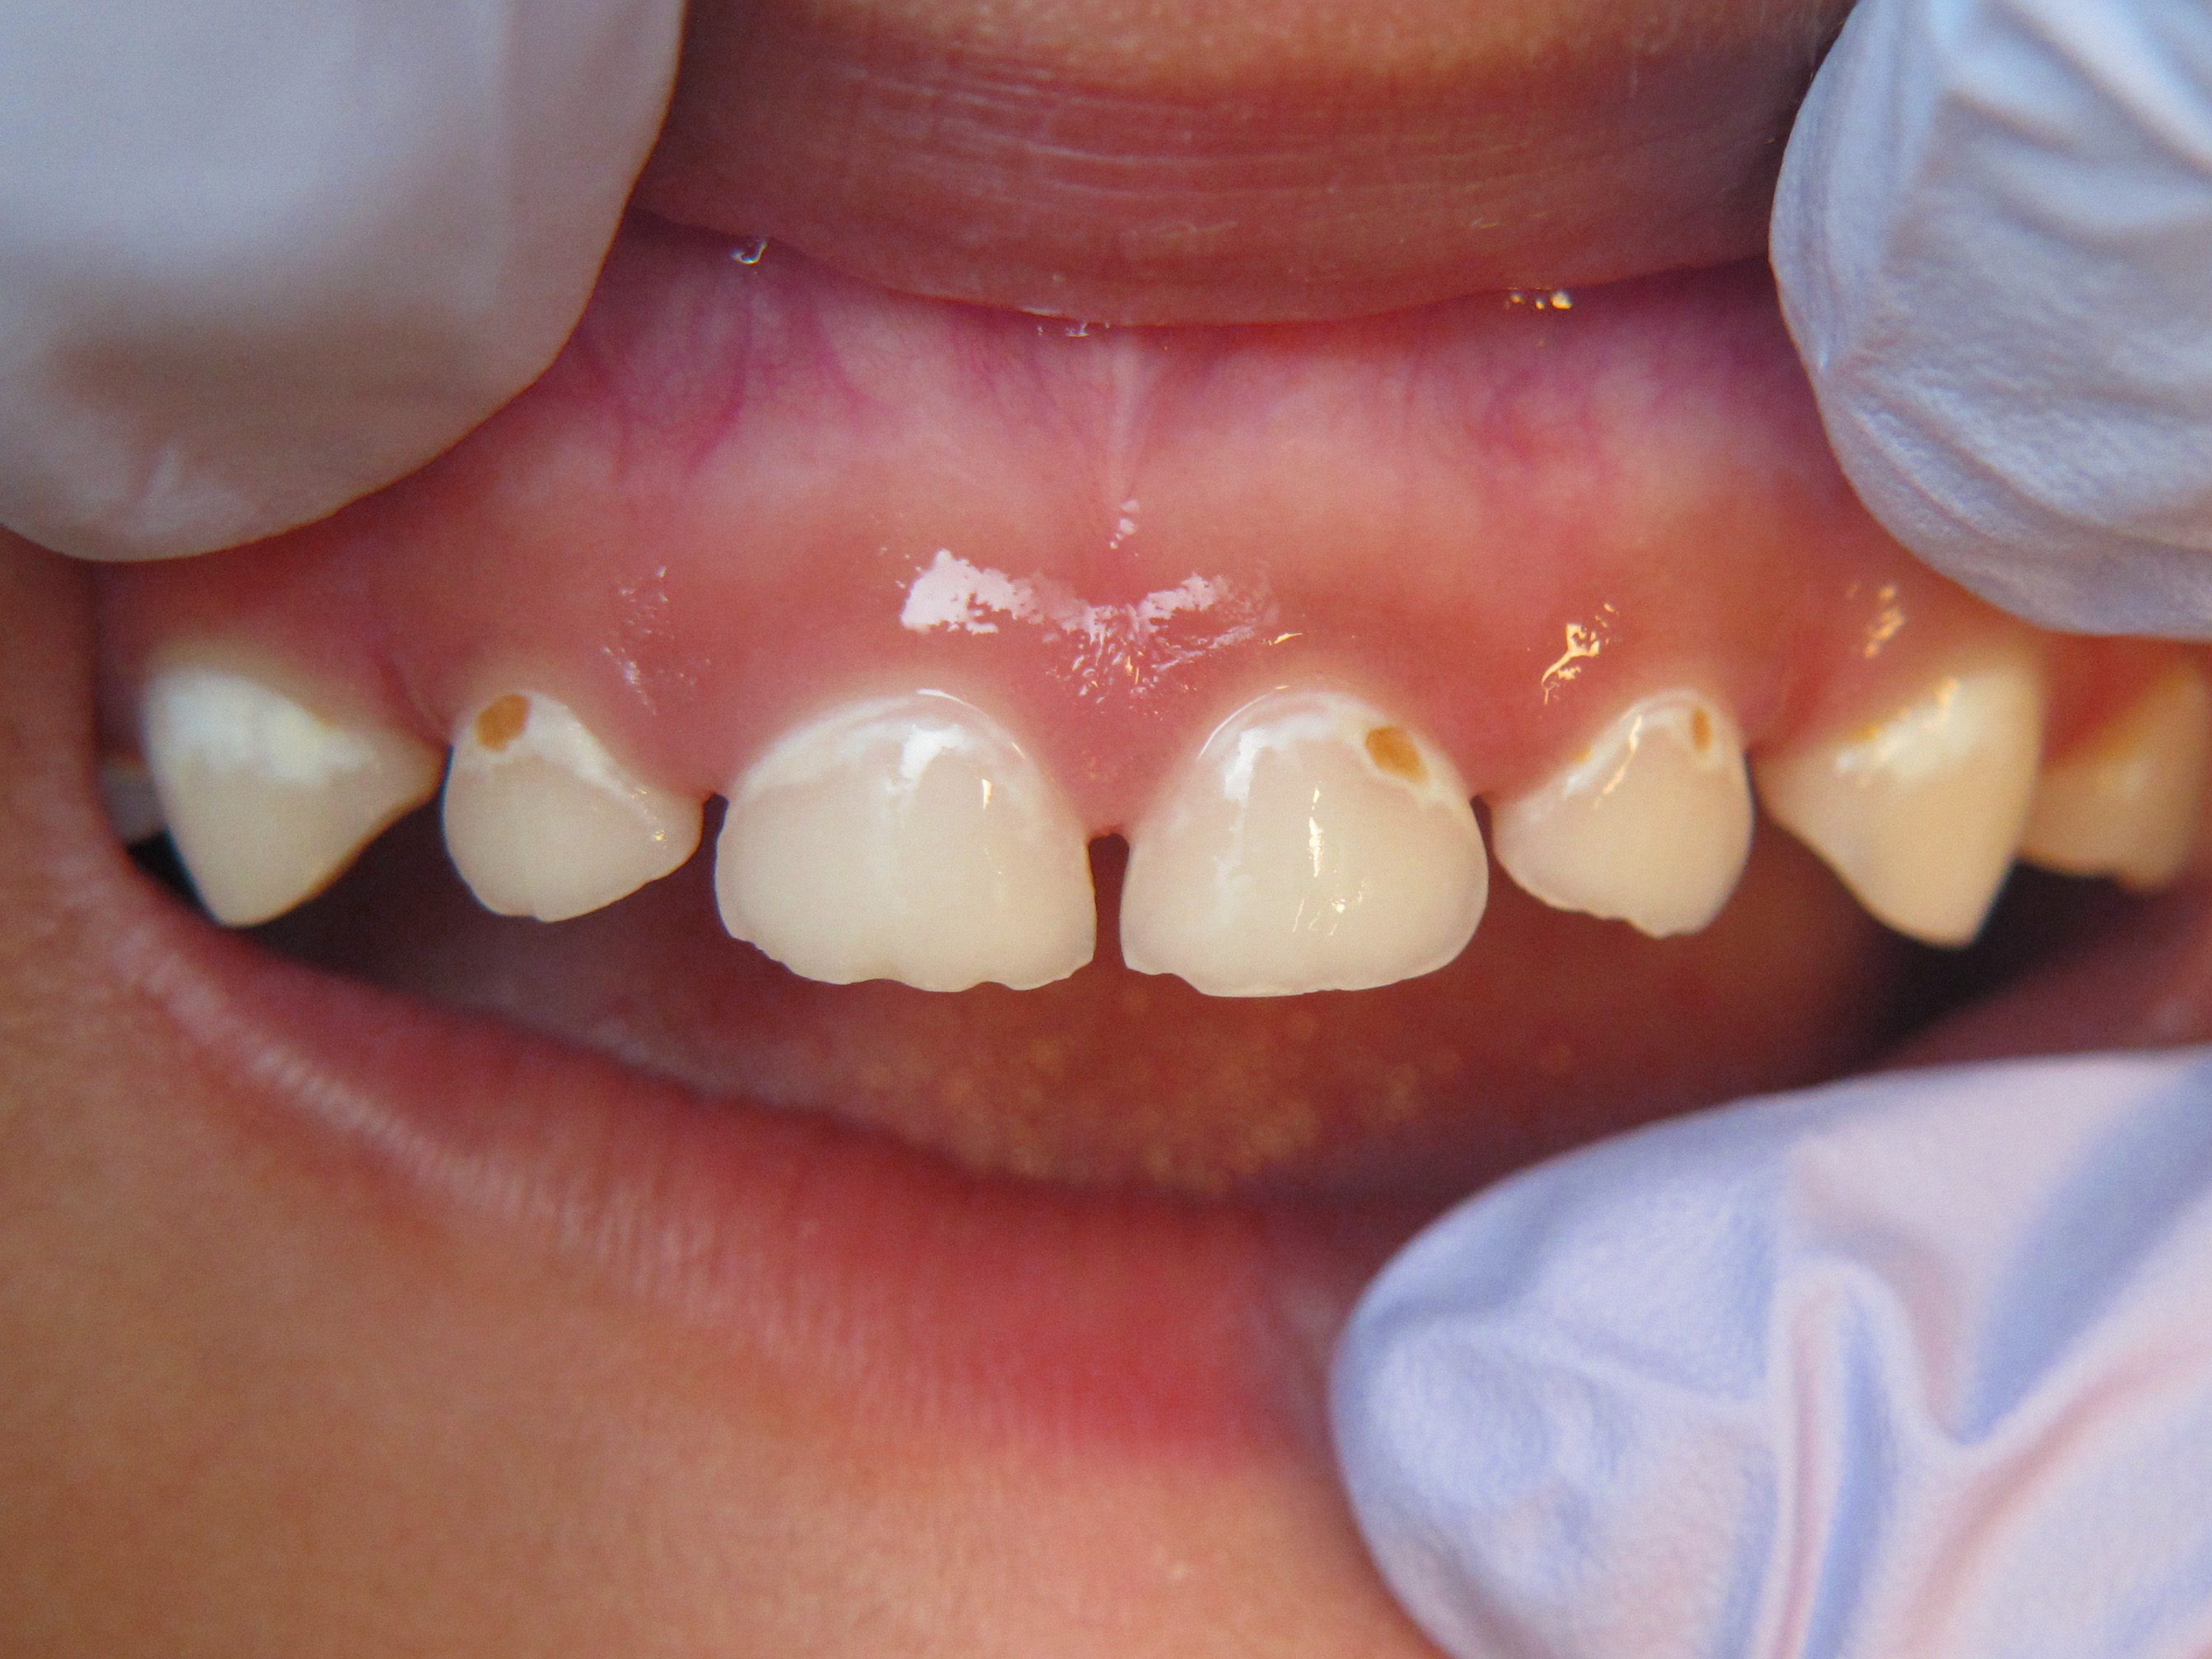 Image source: Dr Travis Nelson, DDS, MSD, MPH. Department of Paediatric Dentistry the University of Washington.
When demineralisation is not identified and addressed in its first stages, the damage will continue.
The surface of the tooth starts to break down, forming a hole. The decay is much easier to see now as it appears yellow brown in colour.
It is still possible to stop the decay from getting worse by making changes to oral hygiene and diet. An oral health professional can help repair the damage so referral is essential
Images source: Dr Travis Nelson, DDS, MSD, MPH. Department of Paediatric Dentistry the University of Washington.
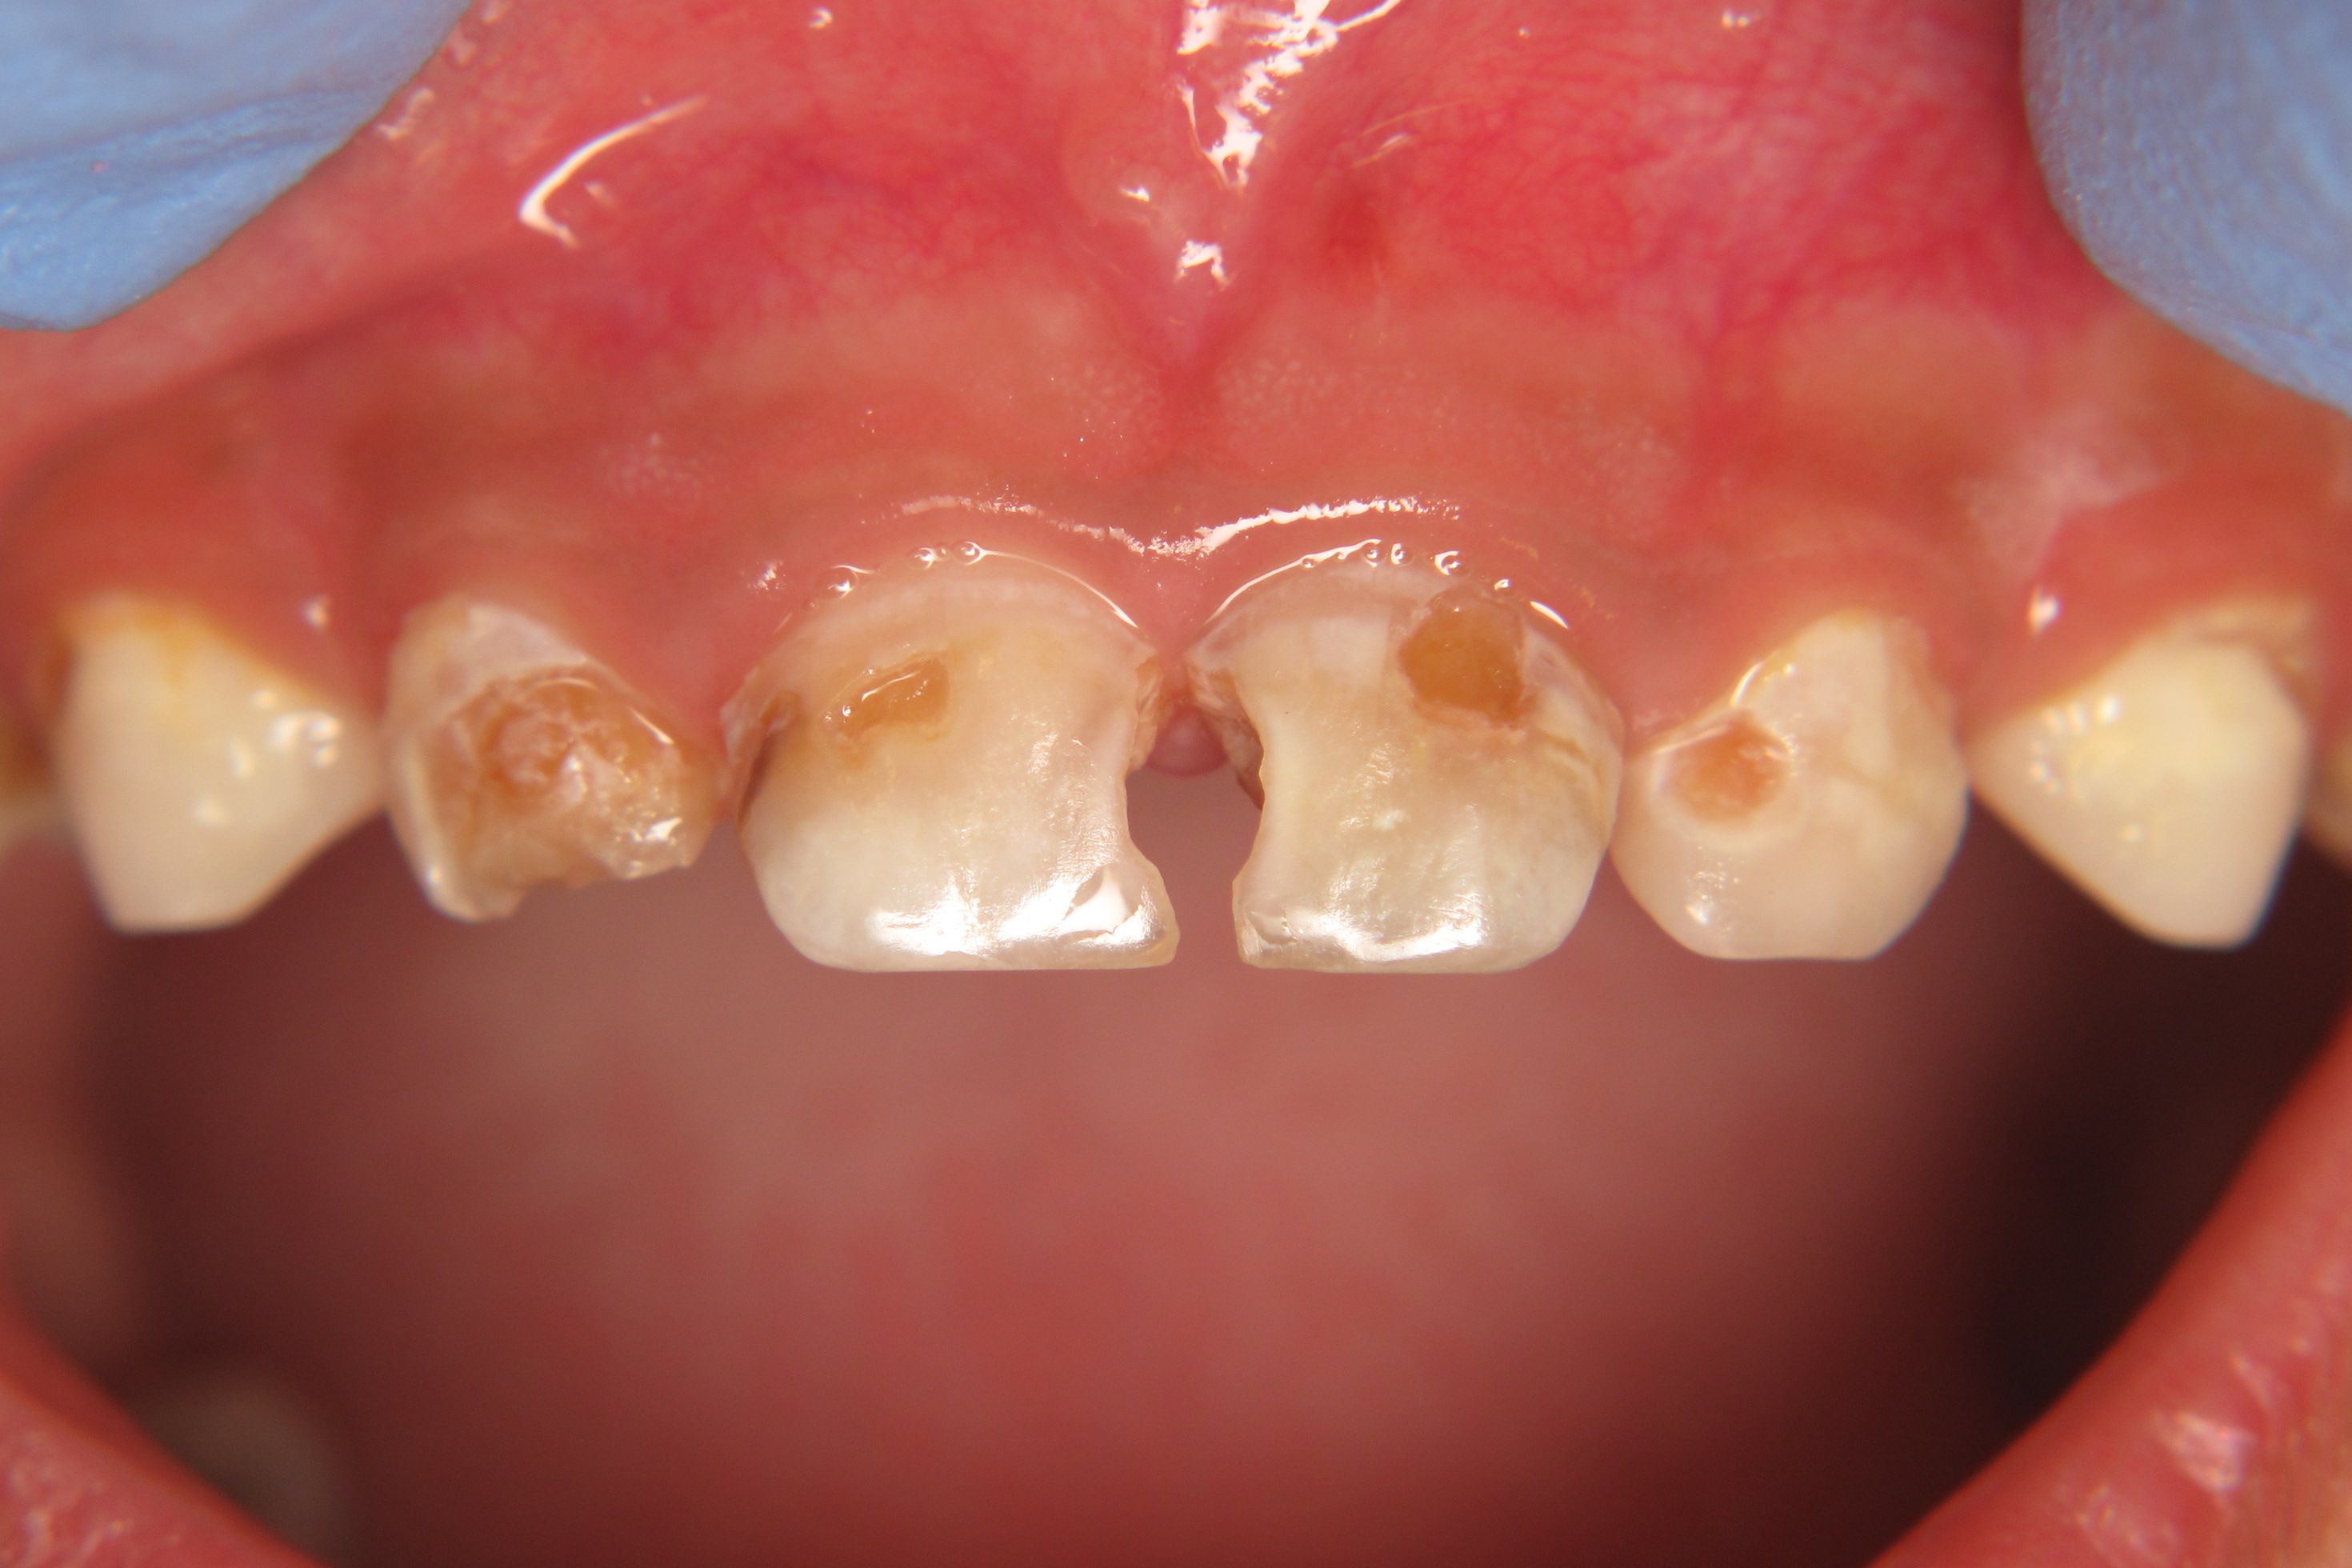
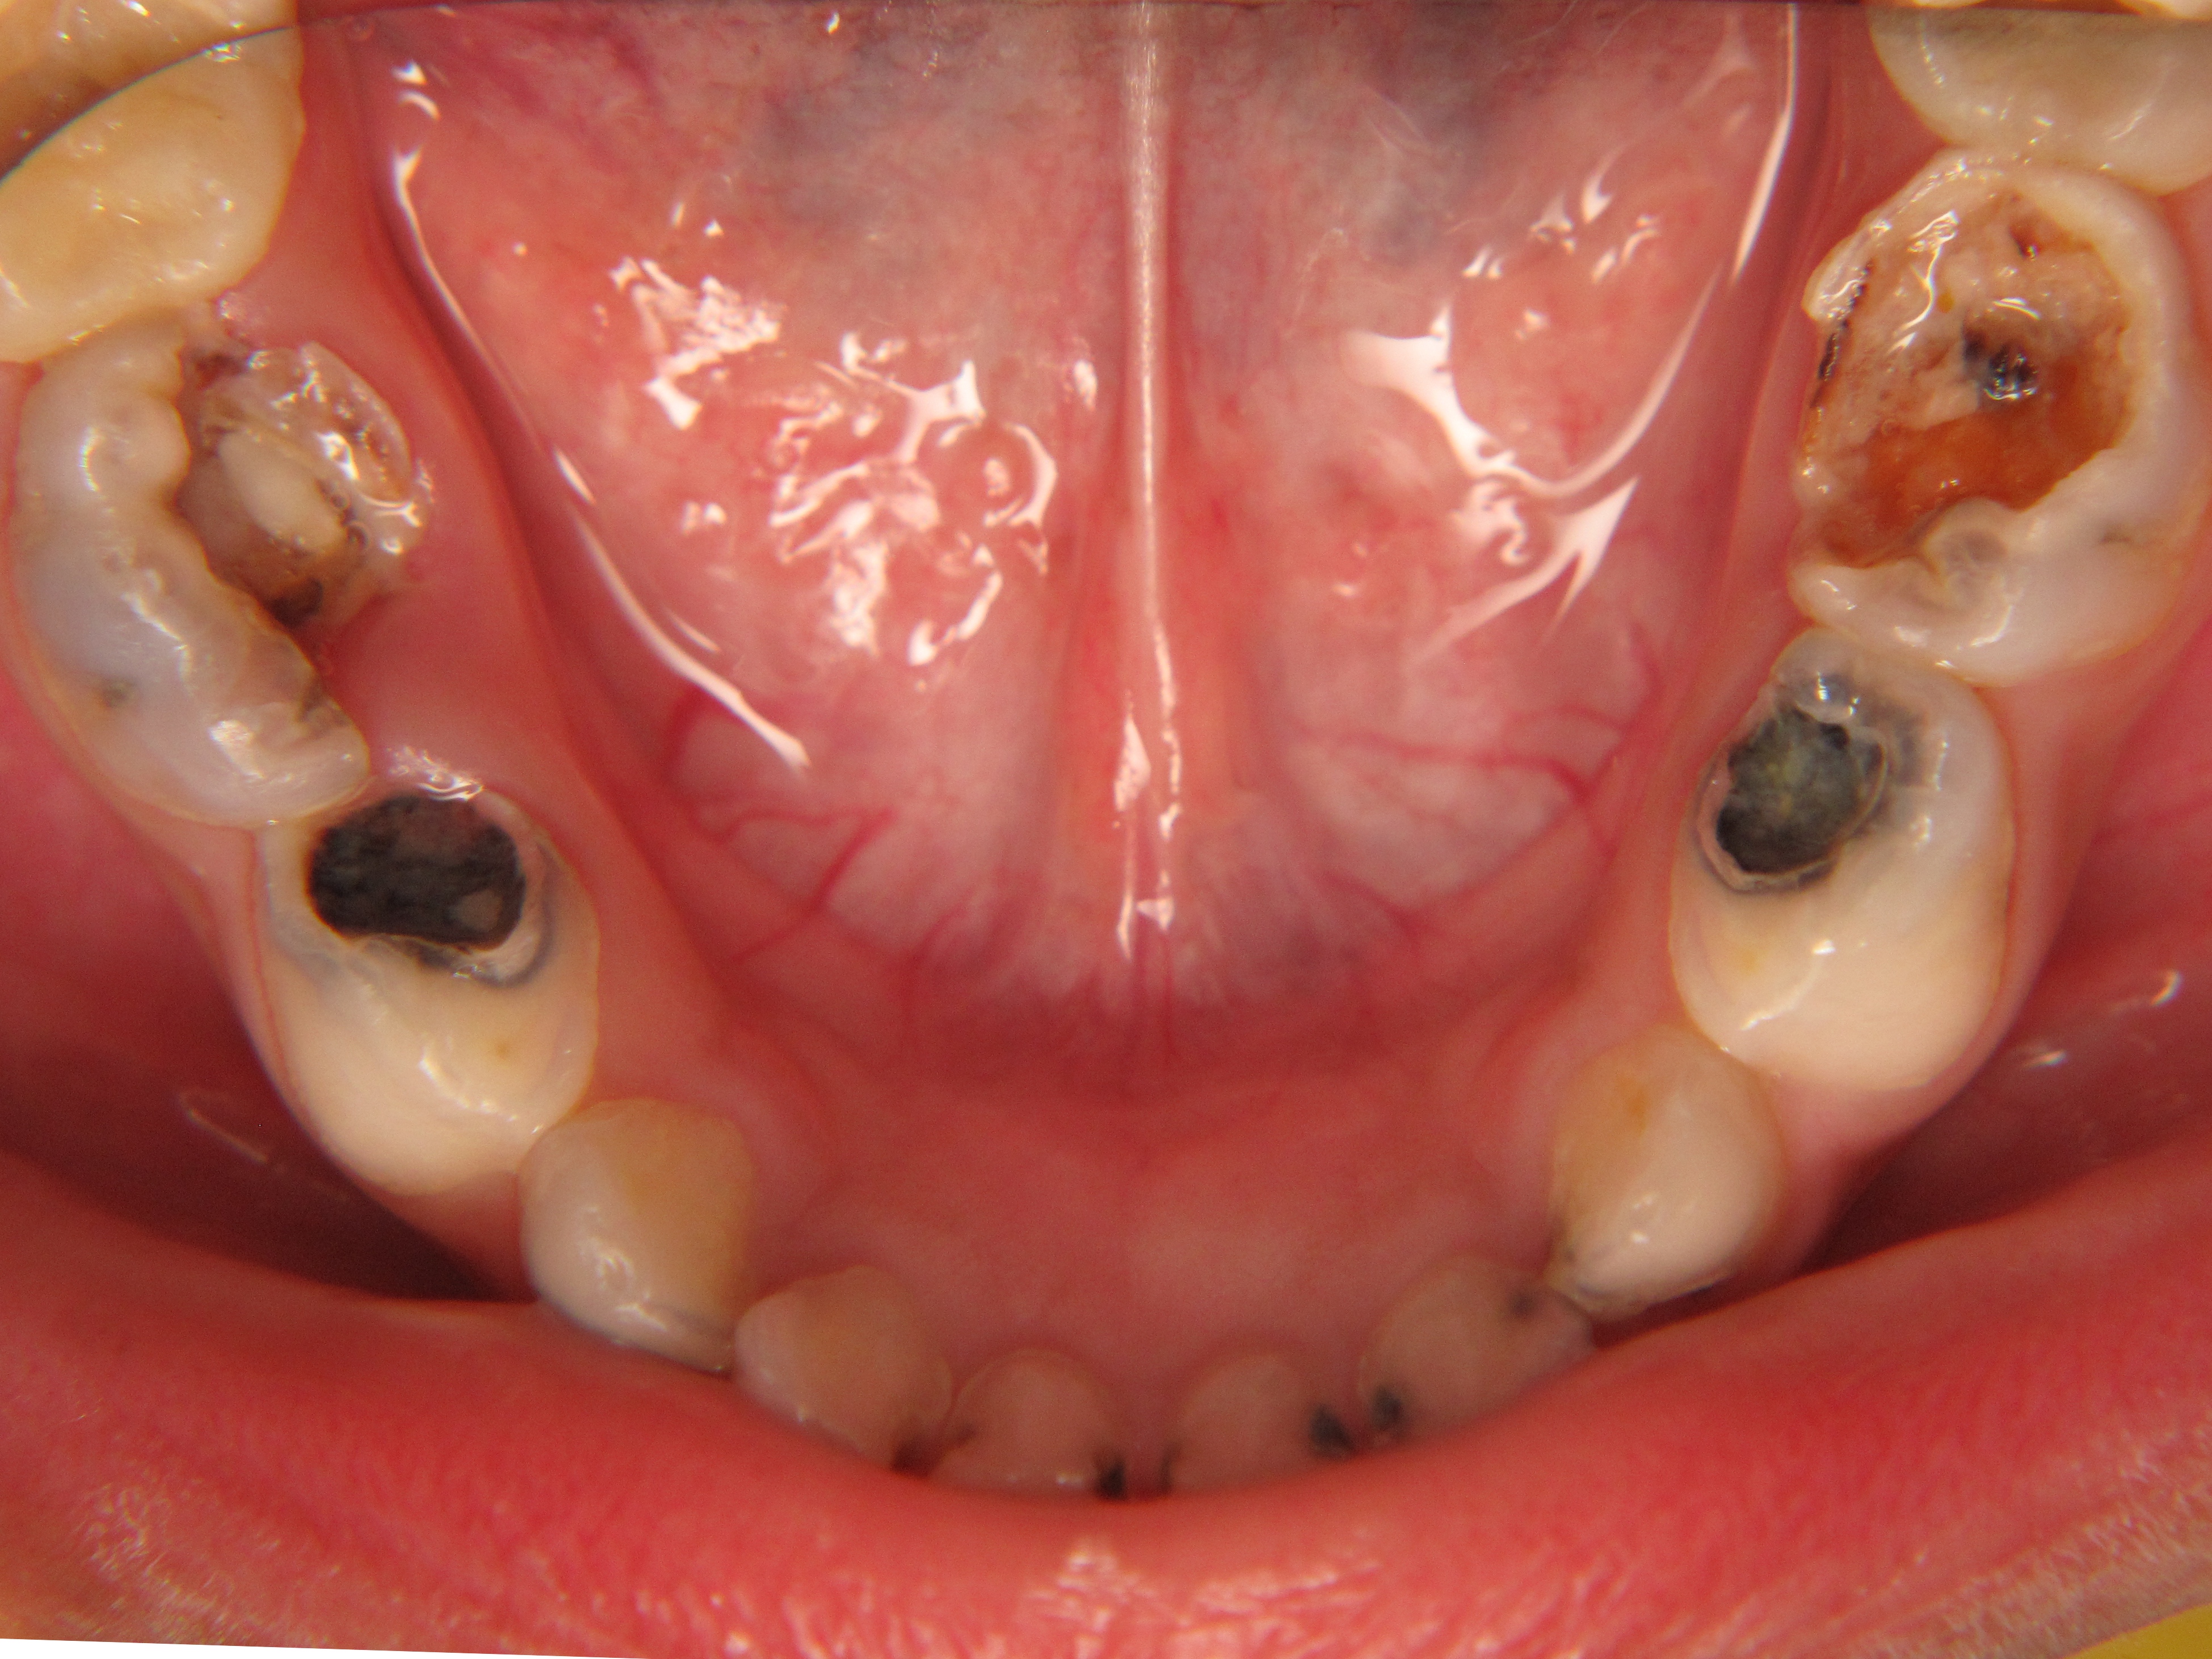
The brown areas on the teeth are advanced tooth decay.
When decay is not treated, the holes get bigger and deeper and may reach the nerve inside the centre of the tooth. This can be very painful and may lead to infection. In very severe cases, infection can spread to other parts of the mouth surrounding tissues
Once a tooth is badly damaged by decay, repair may no longer be possible, and the tooth may need to be removed (taken out).
Referral is essential.
5.3 Lift the lip, Look, Refer
‘Lift the Lip, Look, Refer’ is a simple protocol to enable a basic mouth check. It involves:
- Lifting an infant or child’s upper lip to view the upper teeth and gums.
- Looking at the tooth surfaces, particularly upper front teeth as well as gums and tongue.
- Refering families to a dental practitioner if any concerns are identified.
Refer to 'Section 8 .2. Access to the public dental system' for more information and referrals for children.
The dental practitioner can then provide a comprehensive examination and determine any required treatment.
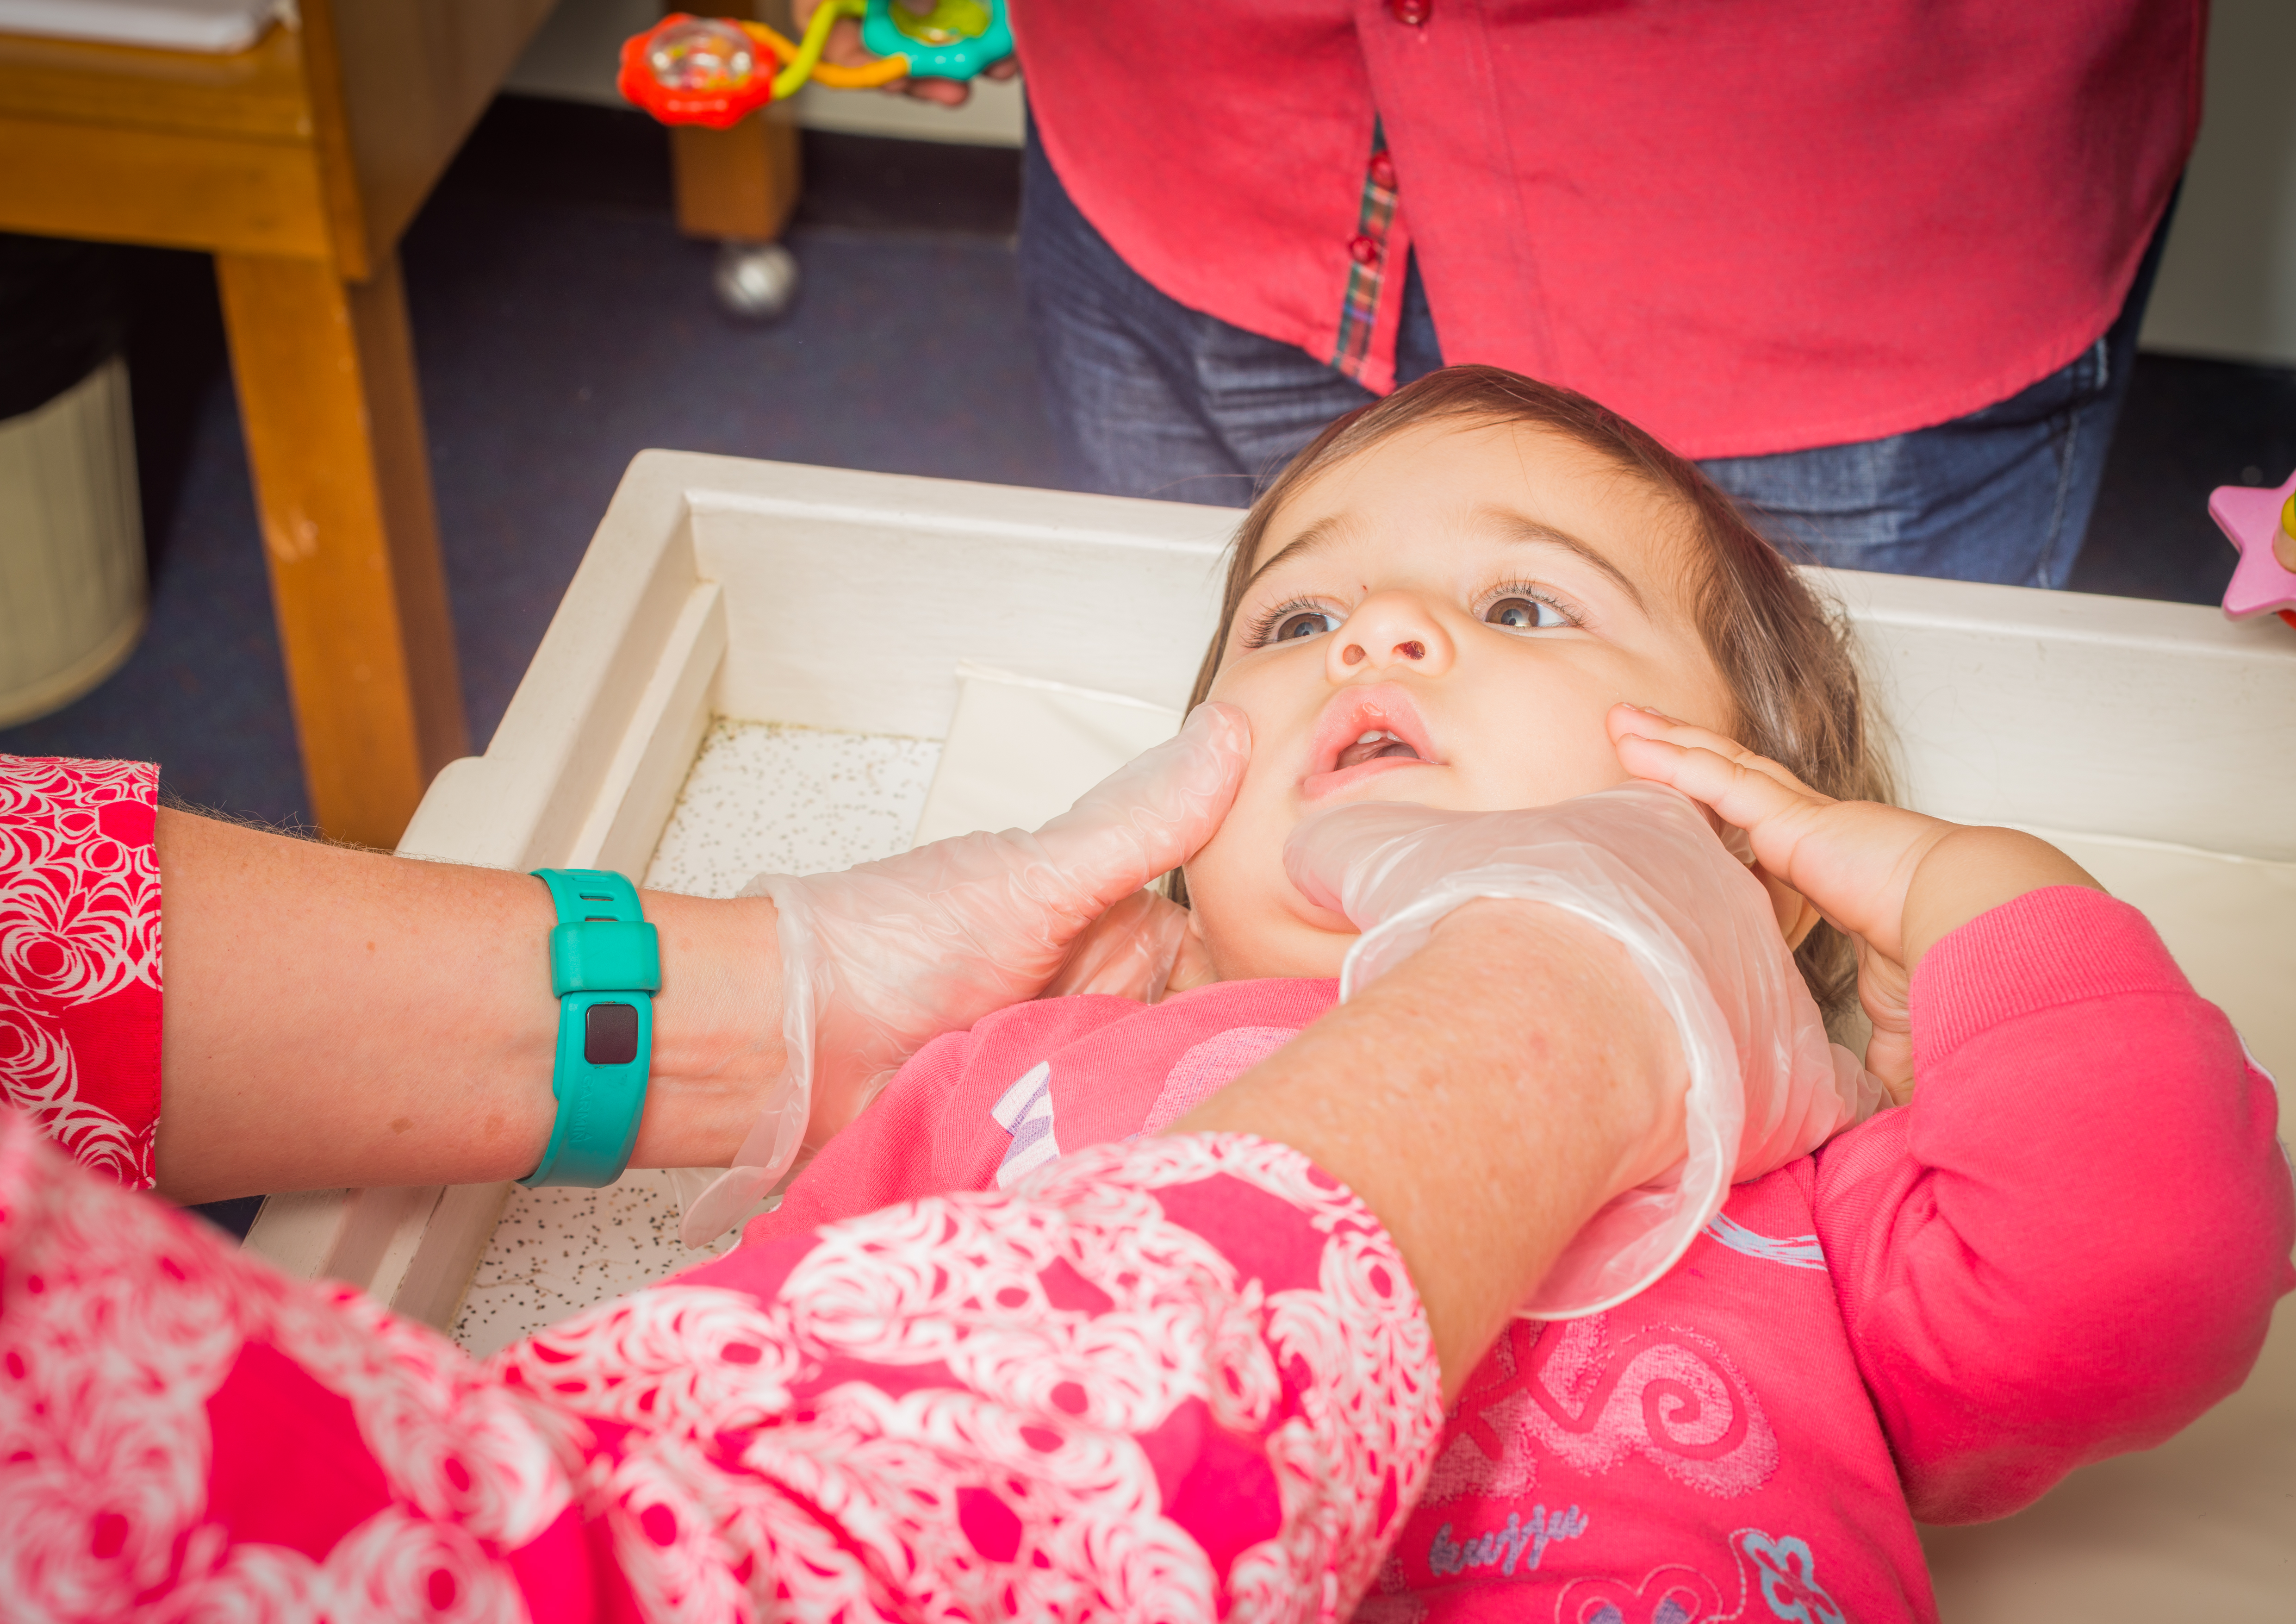
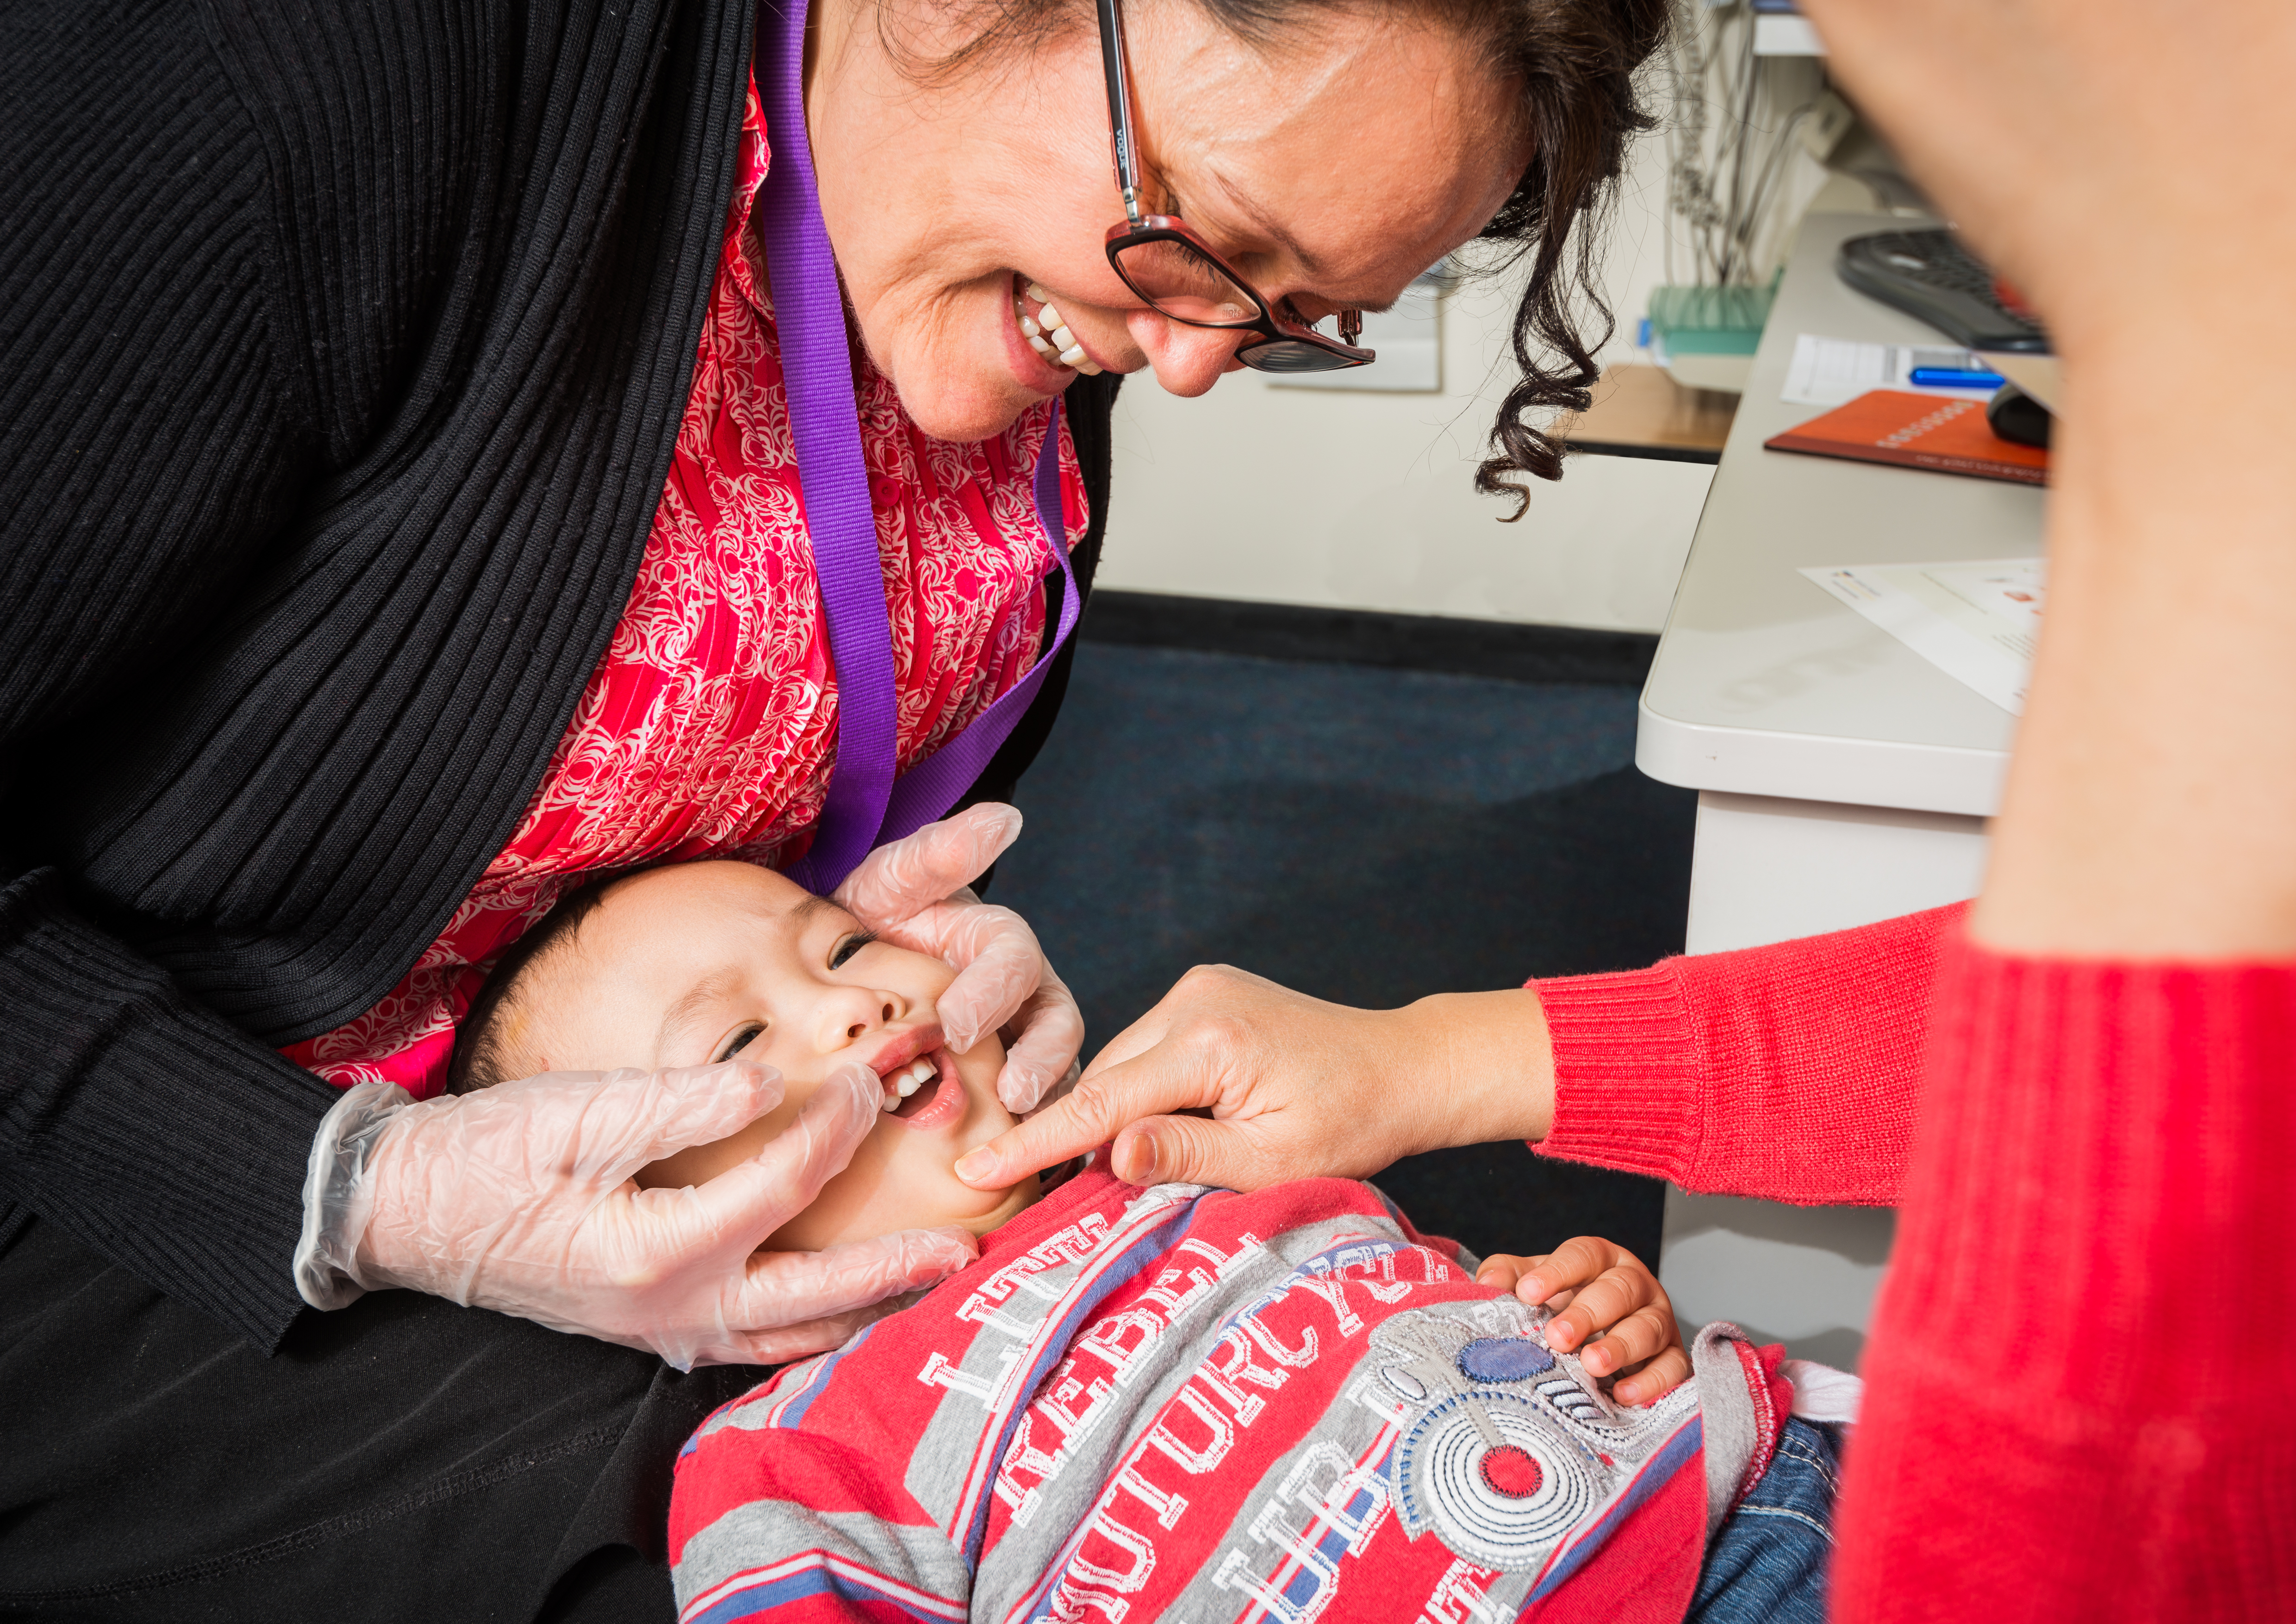
Positioning the child for a Lift the Lip check
The first step in a mouth check is to find a position where the child feels comfortable and secure and you have good visibility of their mouth. The best position may vary depending on a child's age and preferences. Building a rapport with the child and family before you begin can really help.
Some options include:
Using a raised table
With a child under 12 months, the best opportunity to do a Lift the Lip check may be on raised table after measuring the baby. Make sure that you do not block the baby’s line of sight with their parent.
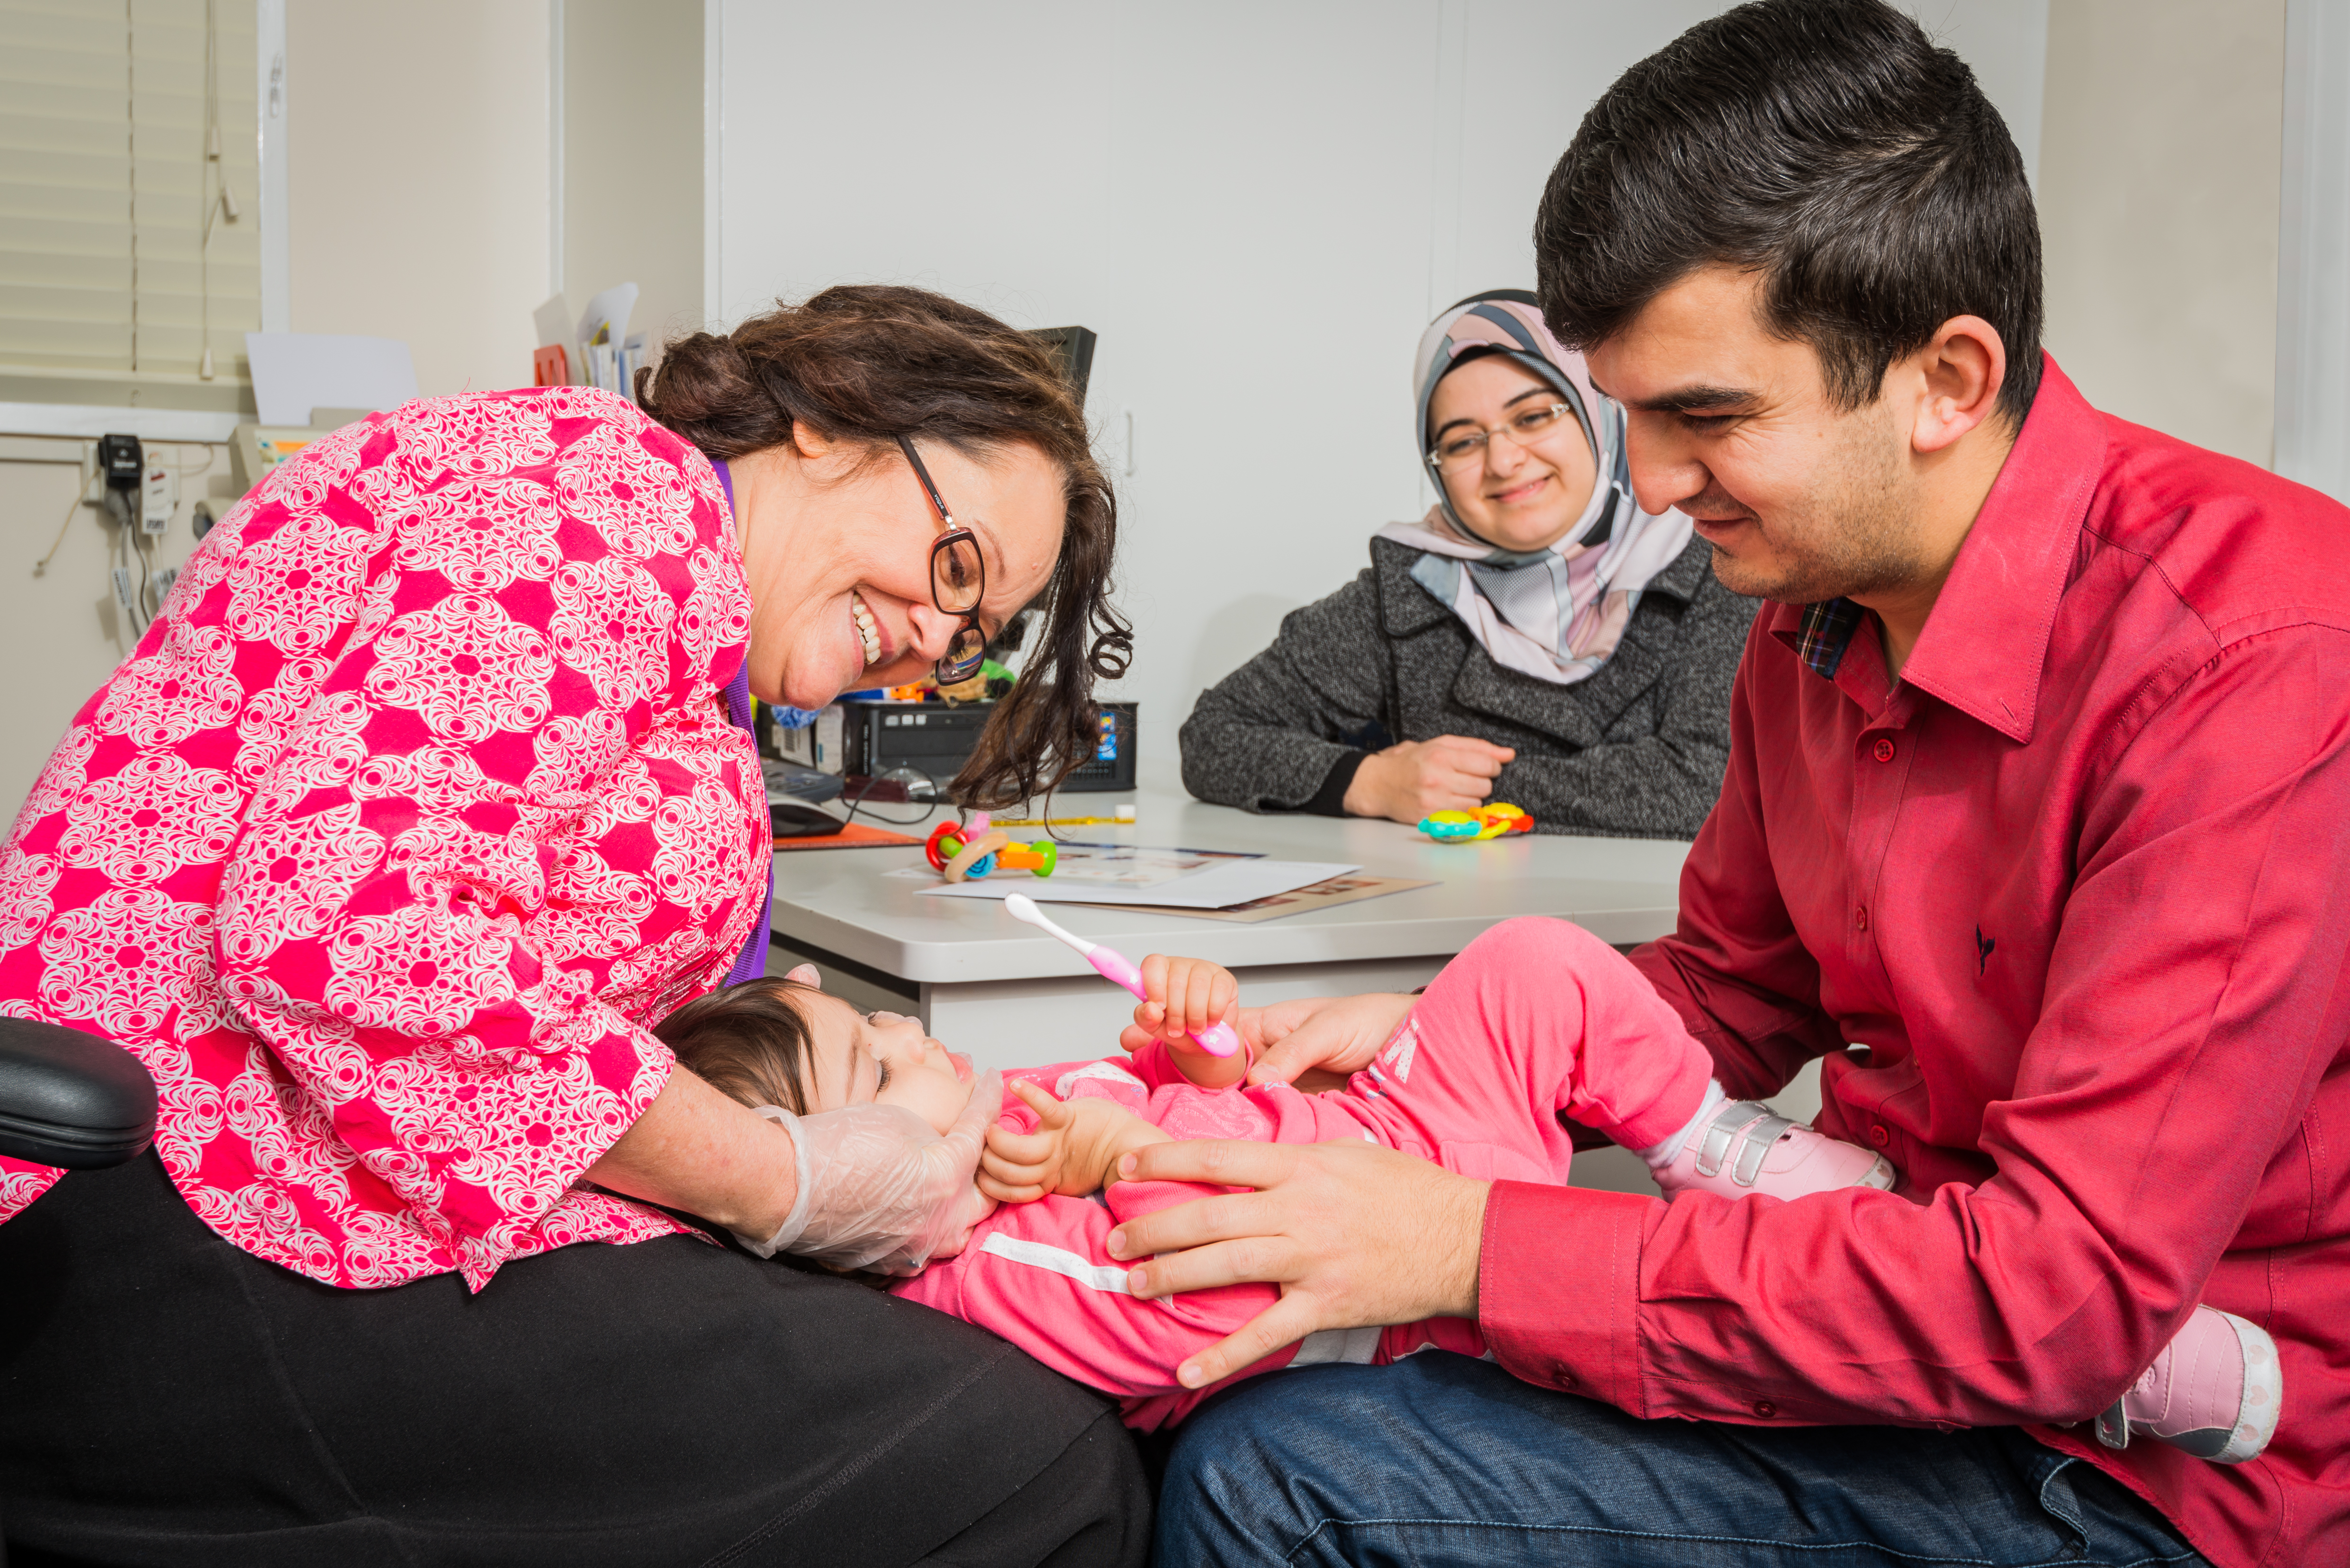
Lap-to Lap
The lap-to-lap position works well when conducting a mouth check on an infant or toddler (birth to three years), allowing you to get a reasonable view of the child’s mouth.
1. The child should be positioned in their parent’s lap, facing their parent. Sit opposite the child’s parent with your knees touching
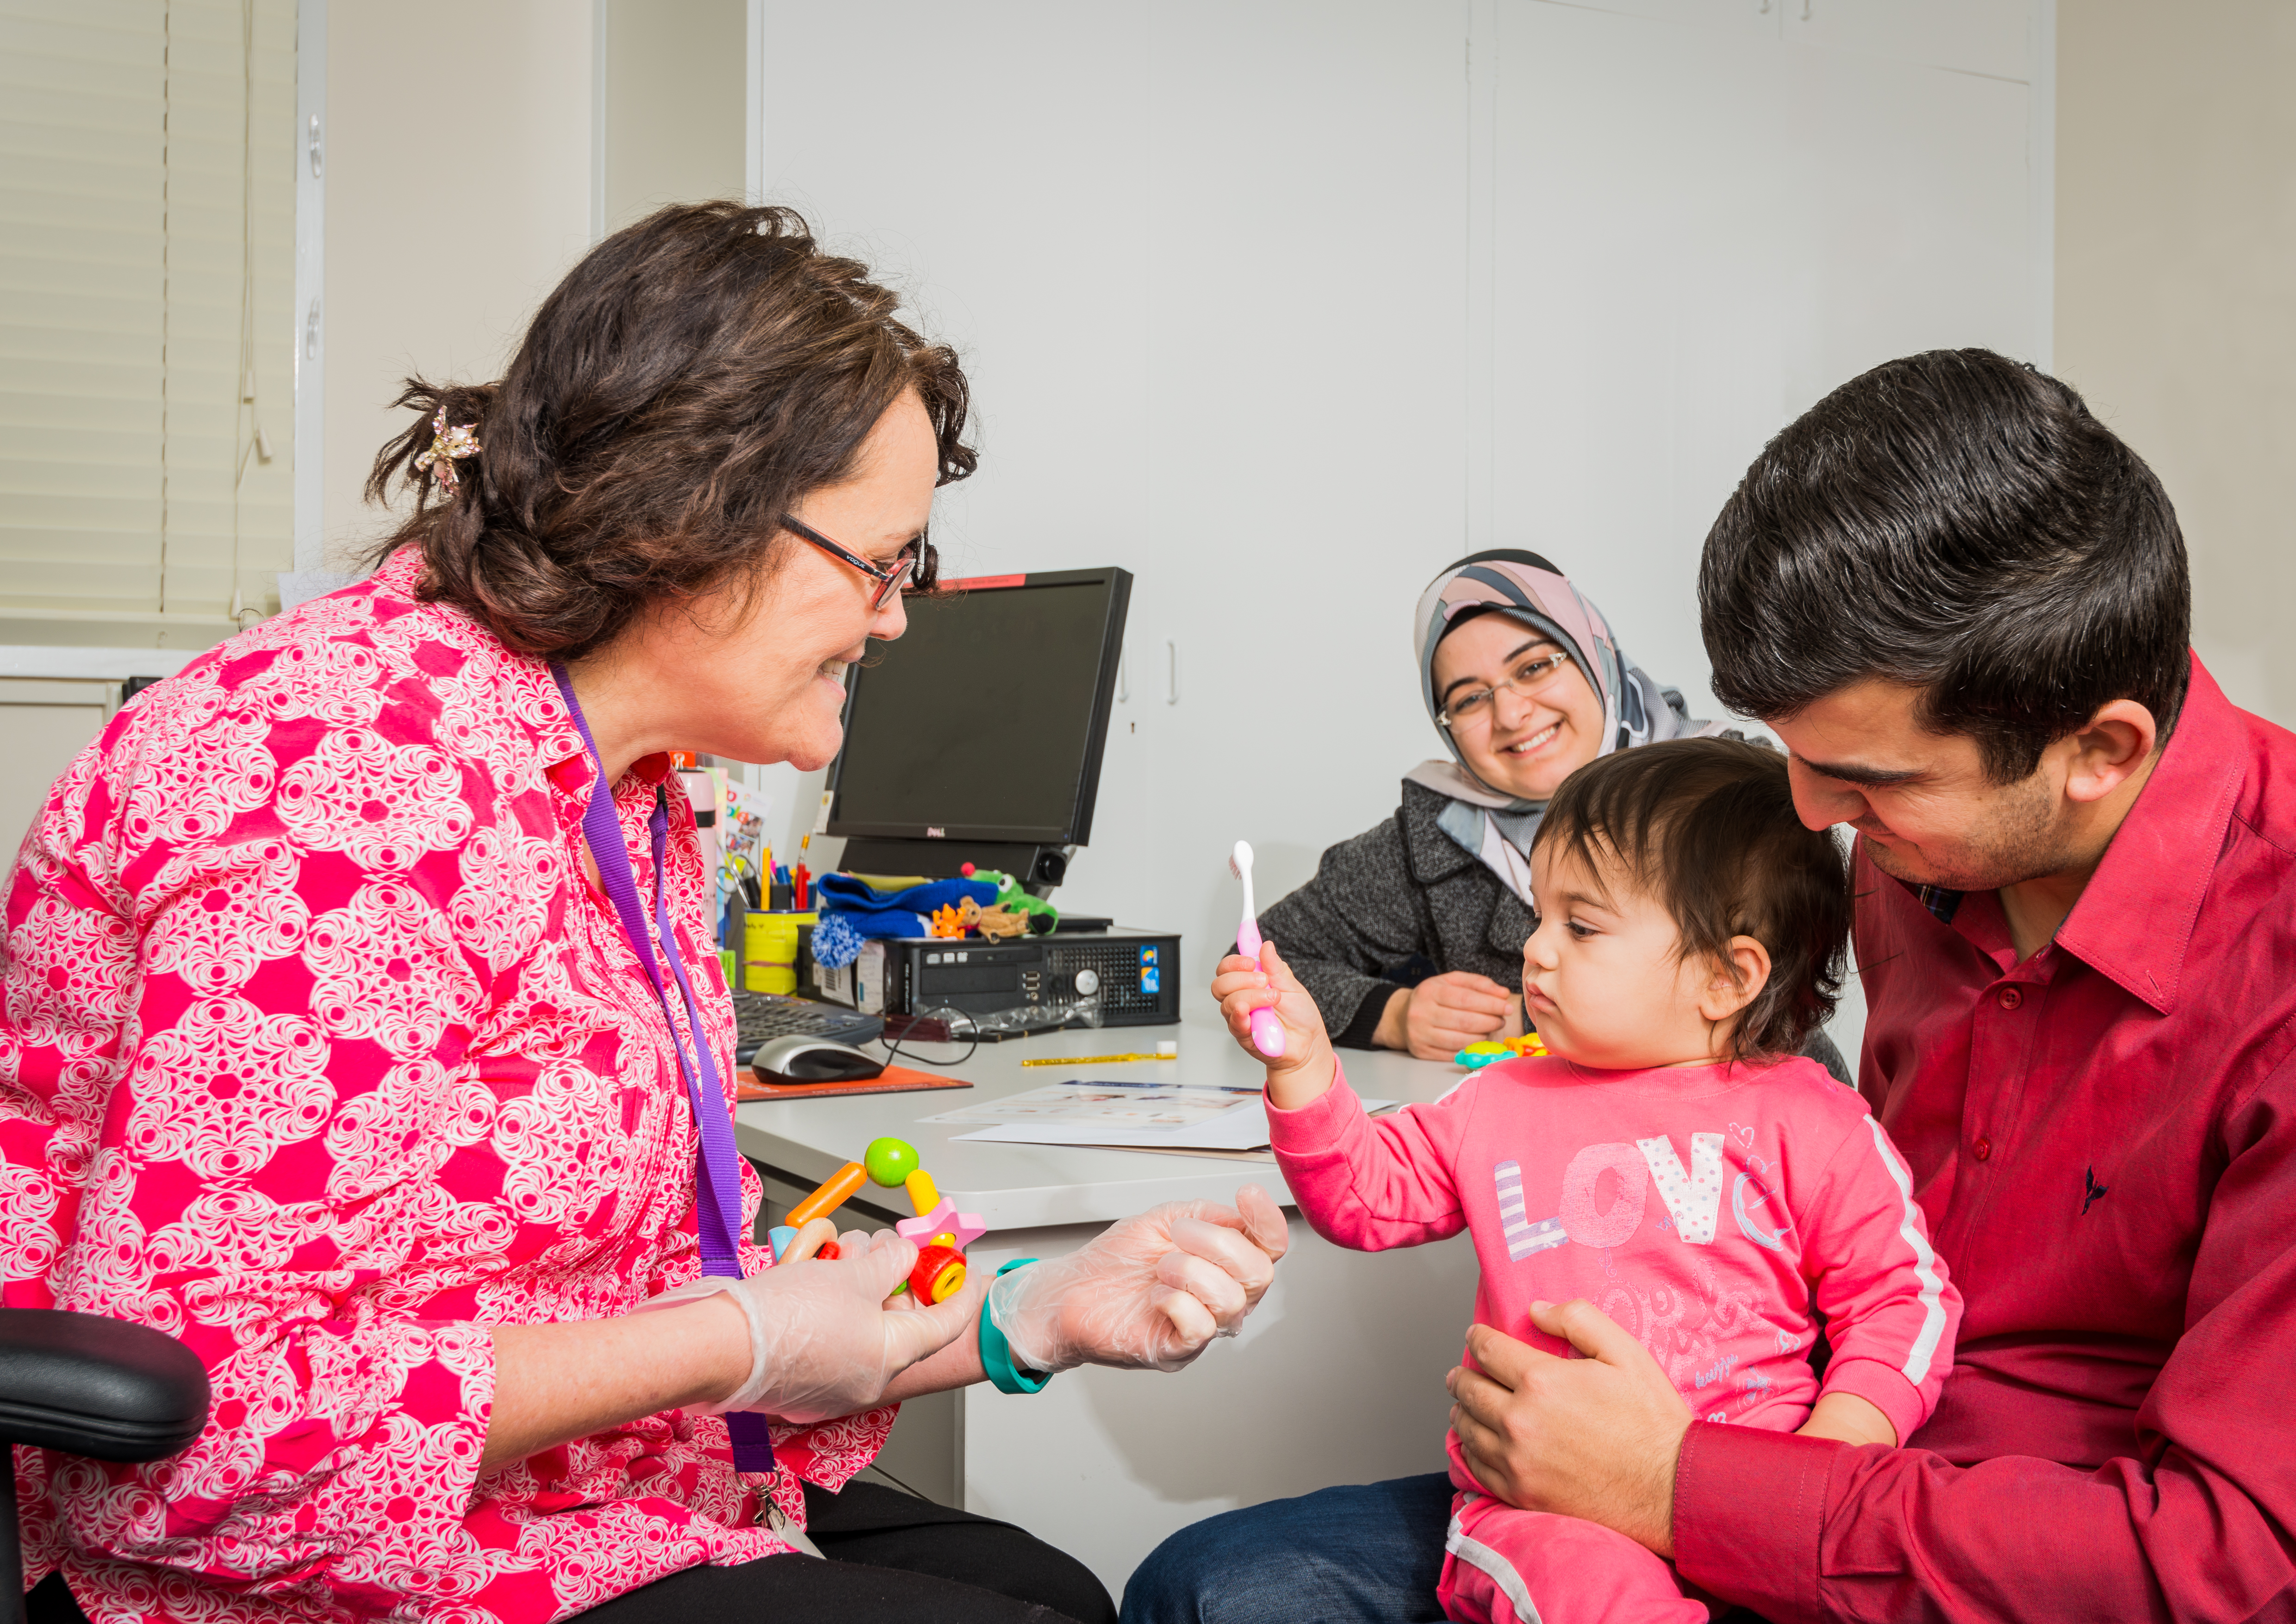
2. The parent will slowly lower the child’s head onto your lap so that the top of their head is against your tummy. The parent can continue to hold their child’s hands for reassurance, or gentle restraint.
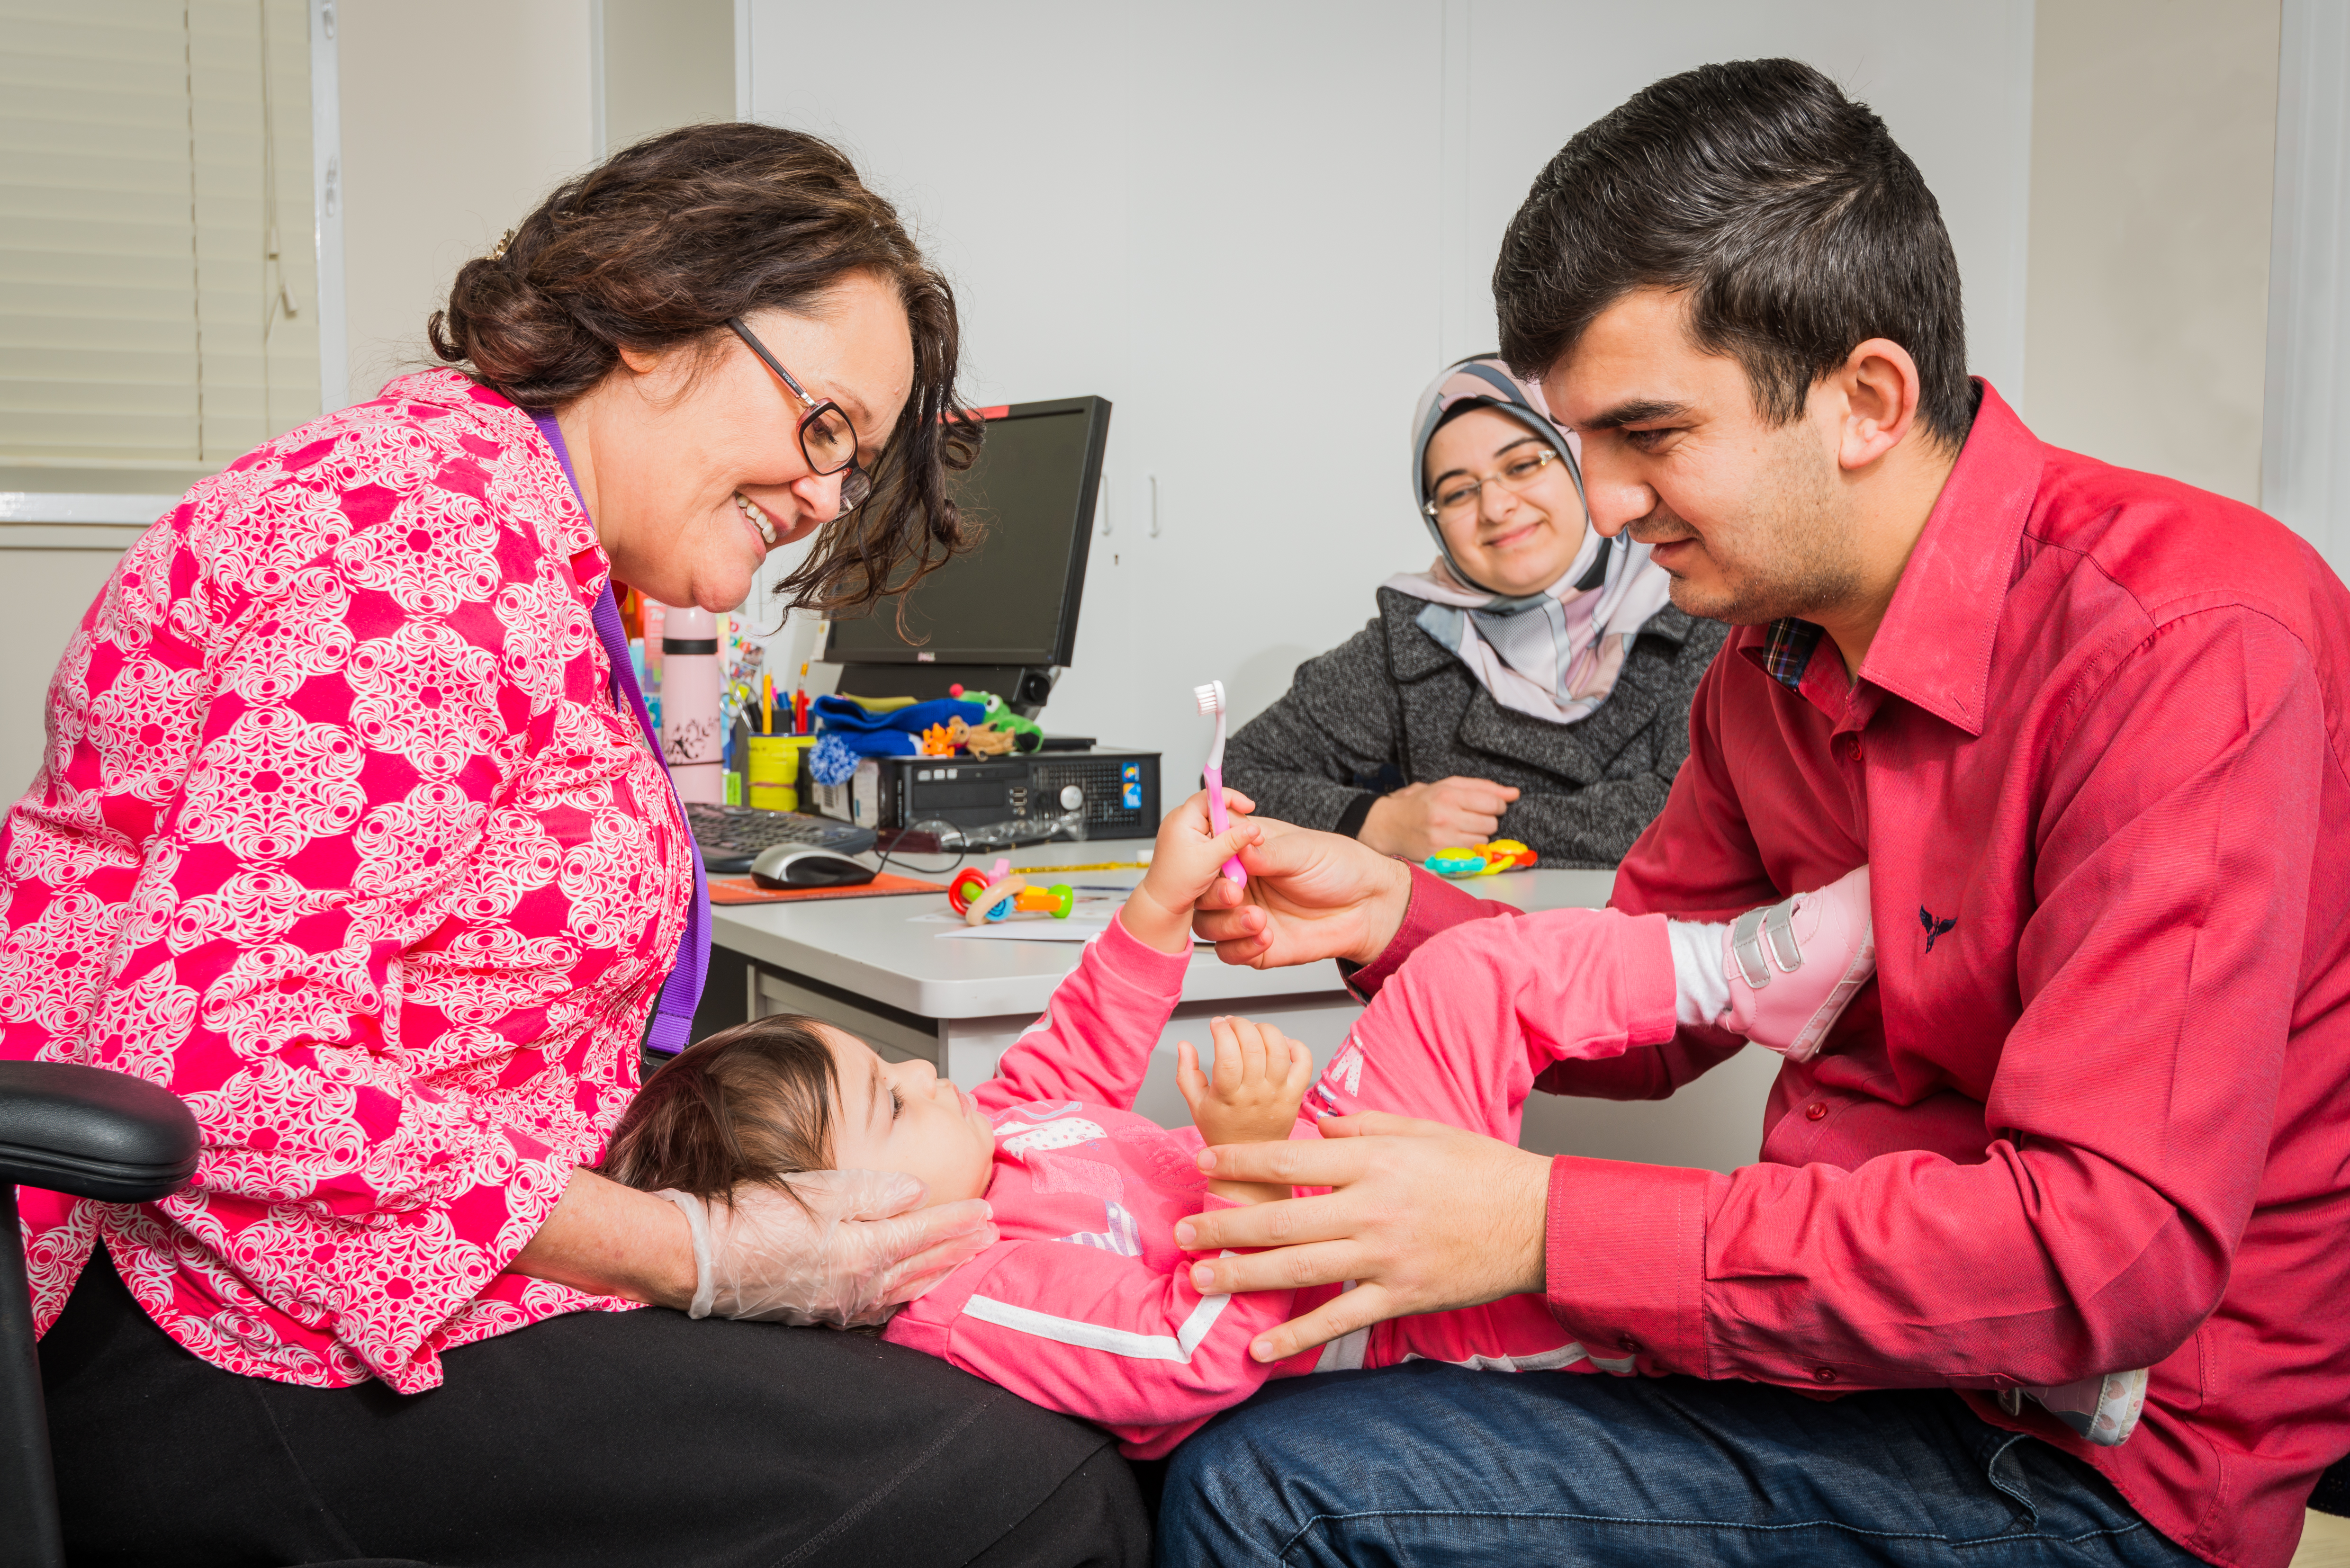
3. You are now ready to begin the mouth check.
Note, because the child is still facing the parent, parents can display encouraging facial expressions like smiling. Parents can also offer distraction by holding a toy in front of their child.
Flexible technique
Older children might be comfortable standing or sitting
- Place the child in a position that will allow a reasonable view of their mouth.
- Children can stand or sit in front of you. Ask the child’s carer to stand next to or behind the child and assist in positioning them if needed.
- You may choose to approach the child from in front of them, or from behind them (in this case, the child will need to tilt their head back for you to see).
- Ask the child to bite their teeth together.
- Lift the lip, and examine the top teeth, especially along the gum line.
- Then ask the child to open their mouth wide.
- Ask the child to move their tongue in different directions and say, ‘ahh’, (this depresses the tongue for a view of the back of the mouth).
- For a close look at the buccal mucosa (inside of the cheek), you can use your fingers to move the outer lip and cheek to one side. The child may also be able to assist with this.
5.4 Tips and advice for mouth checks
Children may resist attempts to look in their mouths and may not keep them open long enough for you to perform the check. Here are some tips to help you complete a mouth check: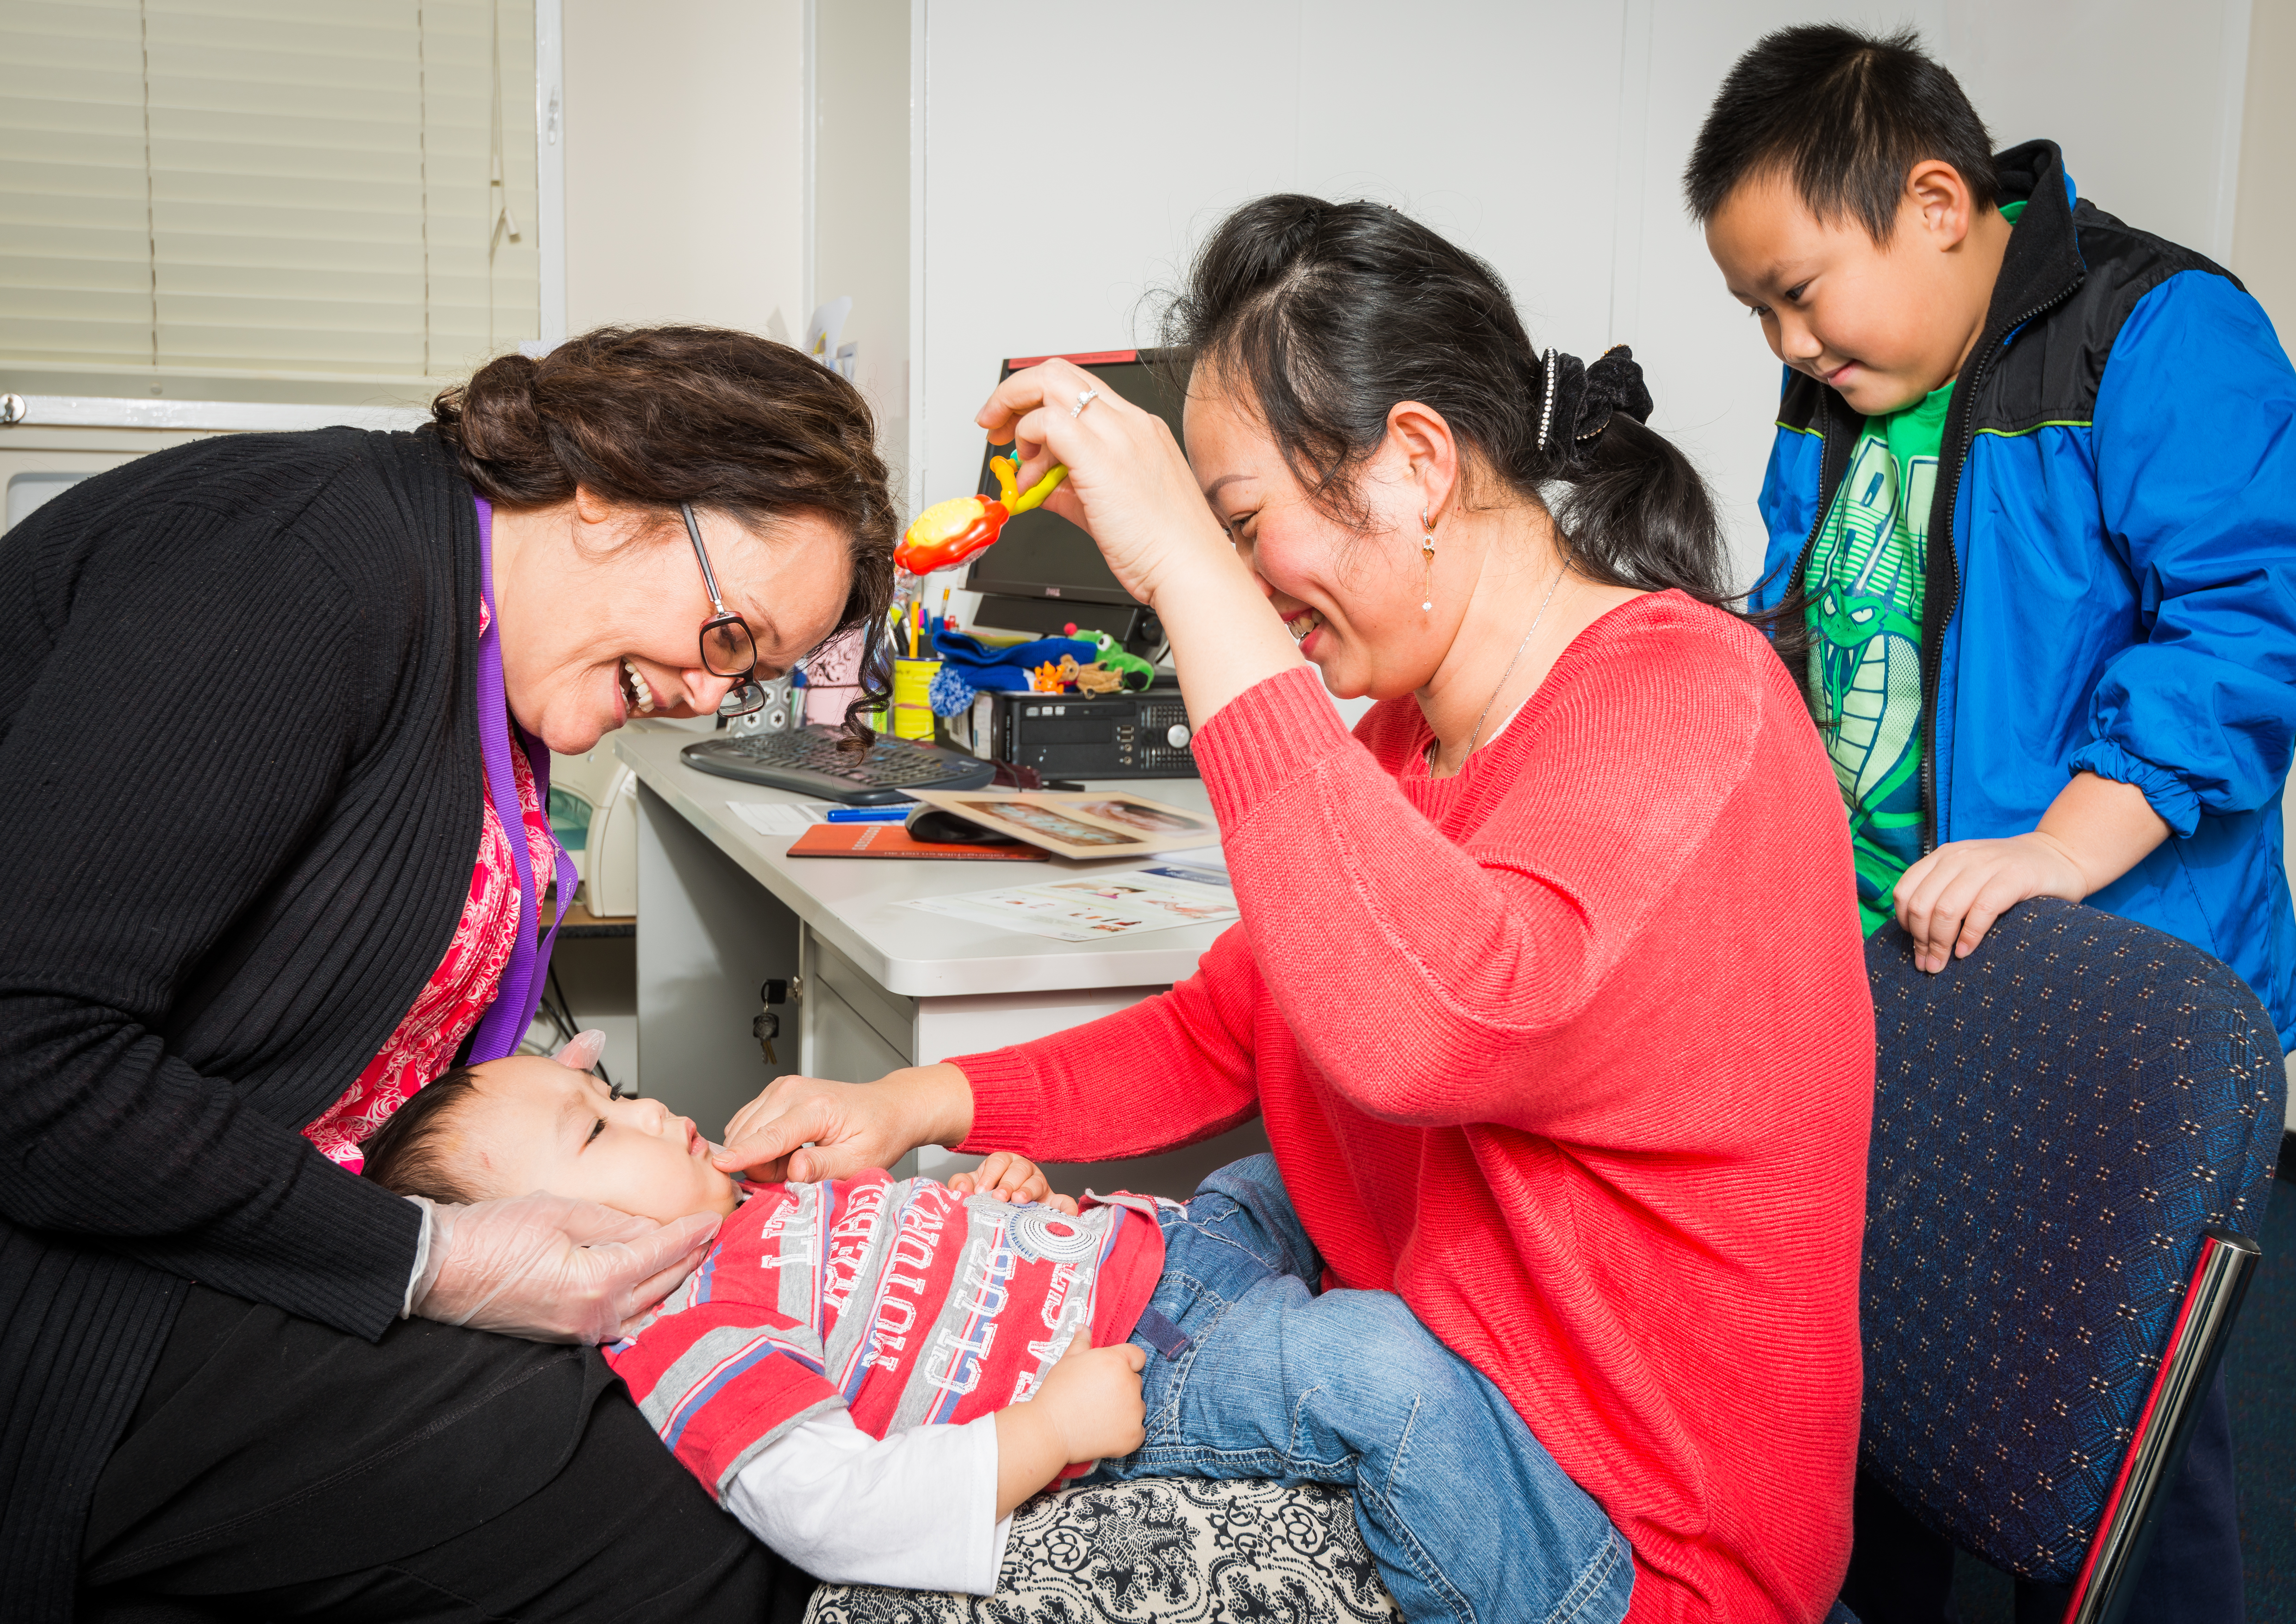
- Let families help you! Ask them what is best to help distract their child. Remind families that although sometimes children do not like it, oral health checks are important
- Use imaginative and role play using animals or characters the child is interested in (for example: ‘roar like a dinosaur’ or ‘is that a little koala hiding in your mouth? Let me check for you!’)
- Have carers or children hold a mirror to their face so they can see what is going on
- Most children will be unaware of their tongue position or inadvertently poke it out. Asking them to say “Aah” should lower their tongue for a full view of the back of the mouth.
Advice to give families when a Lift the Lip check is unable to be completed
- We will try again next time
Reassure them you will try to check again at the next visit, and suggest they mention any concerns to the MCH nurse or book a dental visit
- Encourage families to check their child’s teeth at home
Focusing on the front of the top teeth where decay is most common. Use images from the Little Teeth book to show what to look for, including early signs like chalky white marks or brown spots.
- Promote positive dental experiences
Encourage families to speak positively to their children about visiting a dental clinic. It may have been a bad day, and they could have more luck next time the child’s teeth are checked. Online story books and videos about visiting the dentist can help children prepare for dental visits.
We acknowledge Dr Melinda Tam (BDS) for her role as the main contributor to this chapter. Her expertise as a Population Oral Health Consultant for OHV was invaluable.